How to Add a Watch Wallet
How to Add a Watch Wallet
Anyone can import a public blockchain address into Gem Wallet as a Watch Wallet. You can import your own address to monitor it in view-only mode, or watch another public address. A Watch Wallet lets you view balances and transaction history, but it cannot send, sell, swap, stake, or otherwise transact with the funds.
Importing an address does not give you ownership of or access to its funds. Do not send funds to an address unless you control its private key or recovery phrase. Gem Wallet cannot unlock a Watch Wallet, recover its funds, or reverse a blockchain transaction.
Add a Bitcoin Watch Wallet
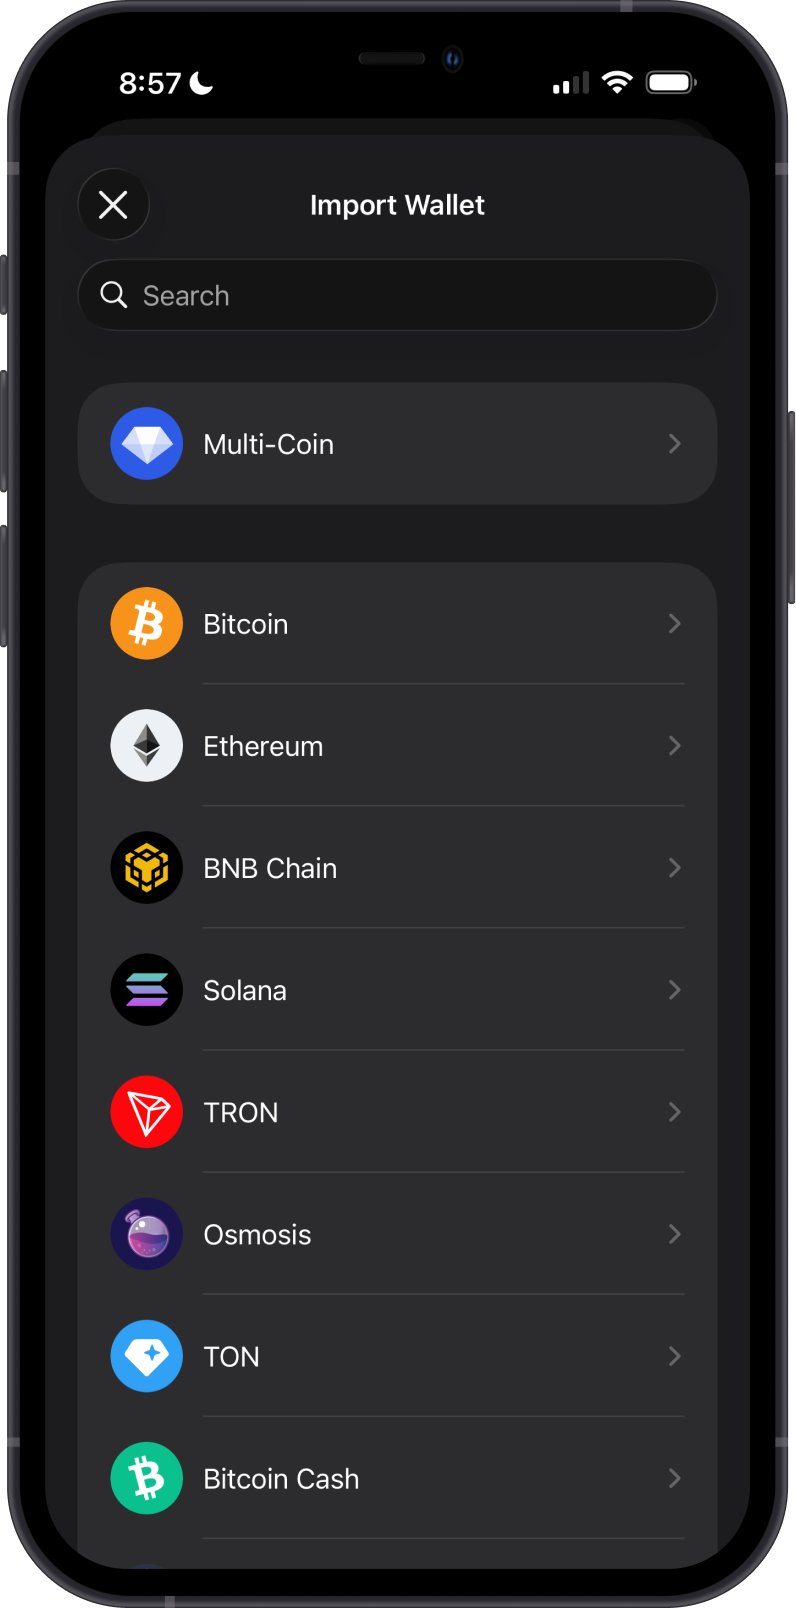
Step 1 - Select Bitcoin
Open Gem Wallet, tap Import an Existing Wallet, and select Bitcoin from the blockchain list.
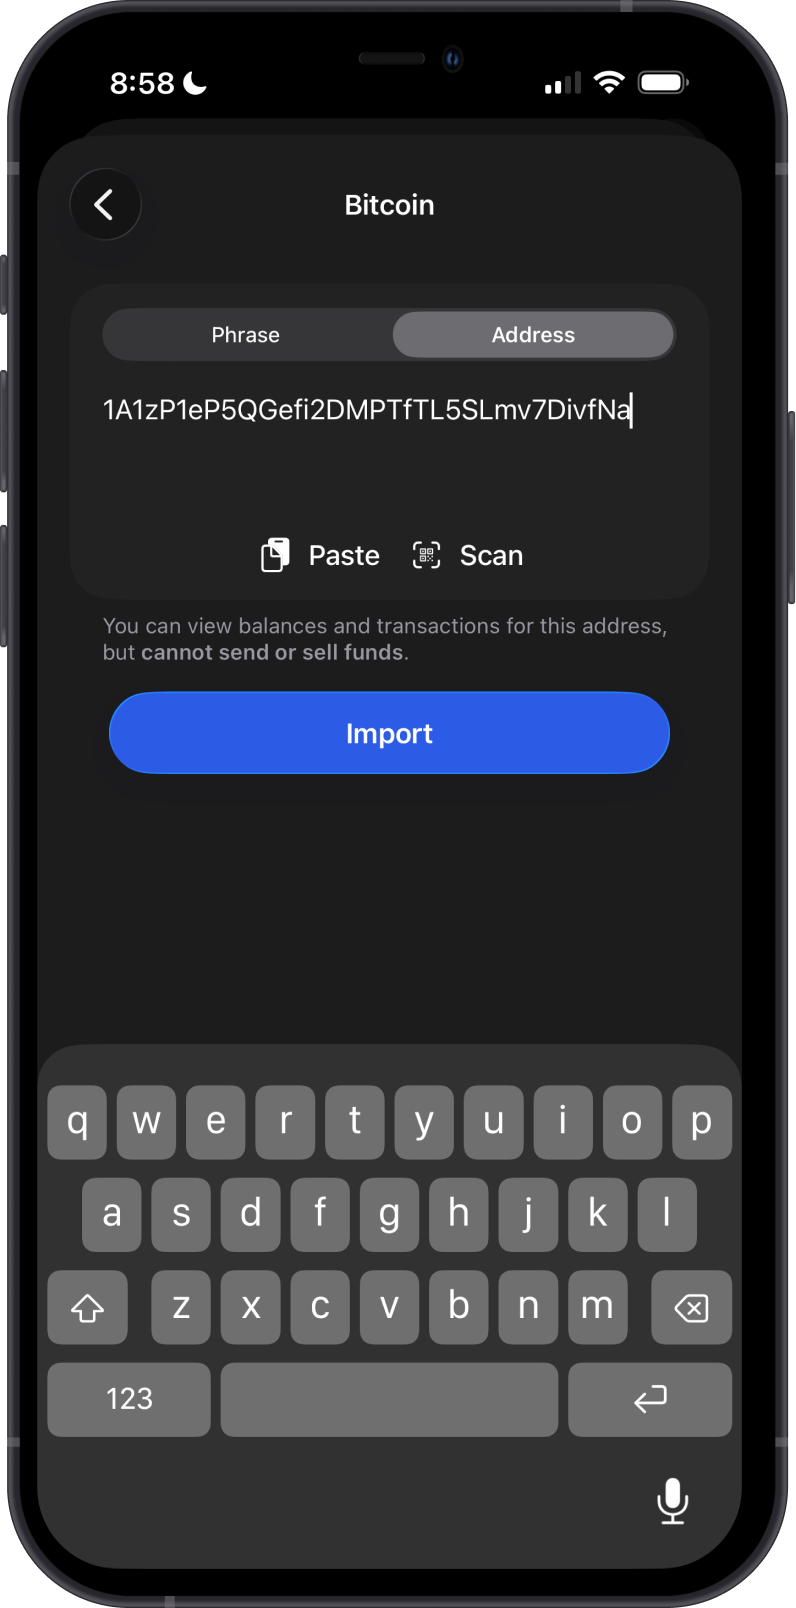
Step 2 - Enter the Bitcoin Address
Select the Address tab. Paste the public Bitcoin address or tap Scan to scan its QR code, then tap Import.
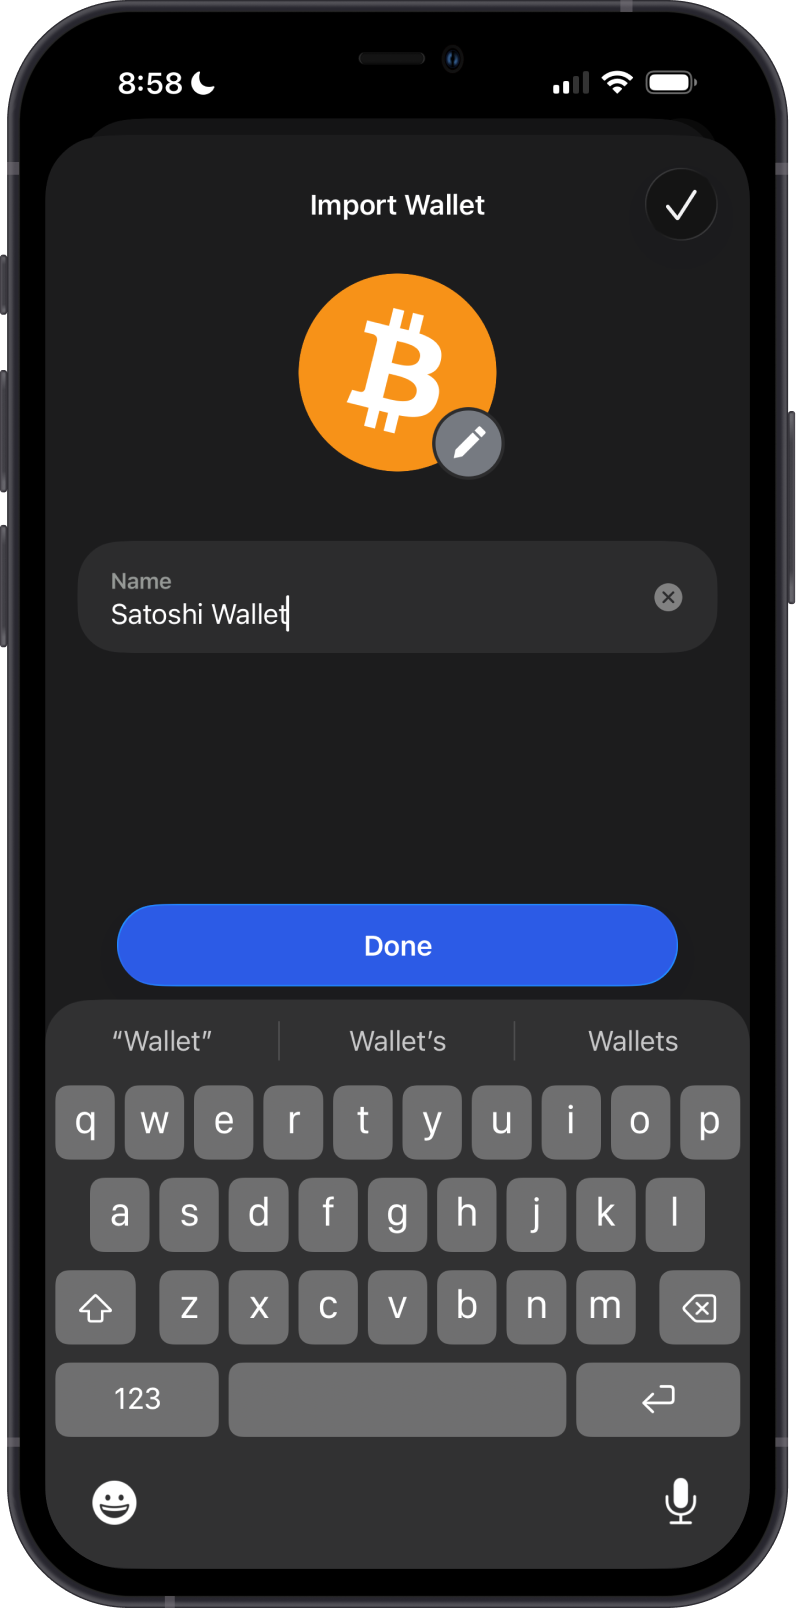
Step 3 - Name the Watch Wallet
Enter a name that will help you identify the address, then tap Done.
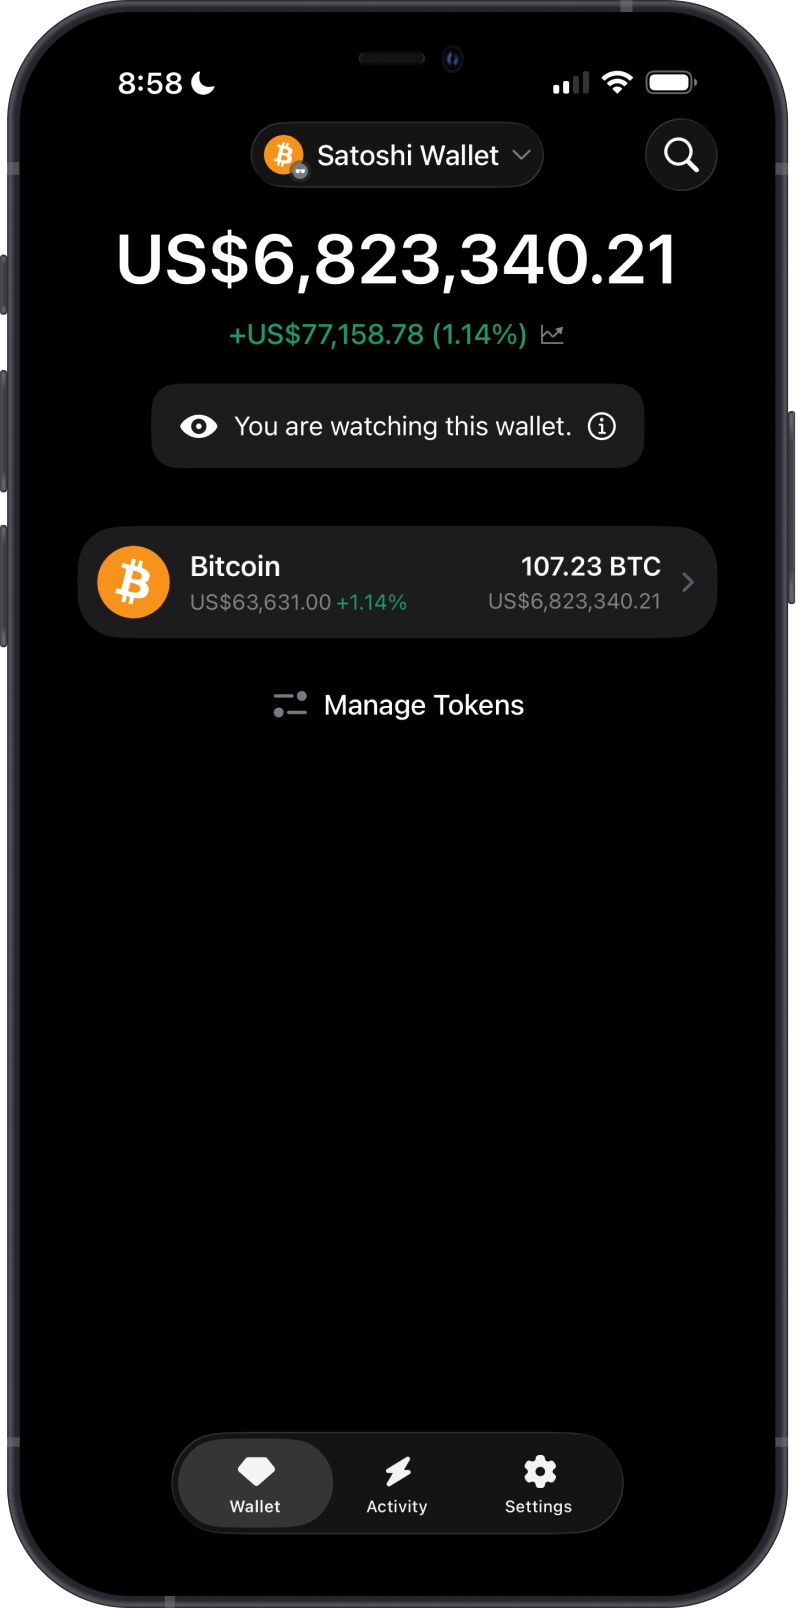
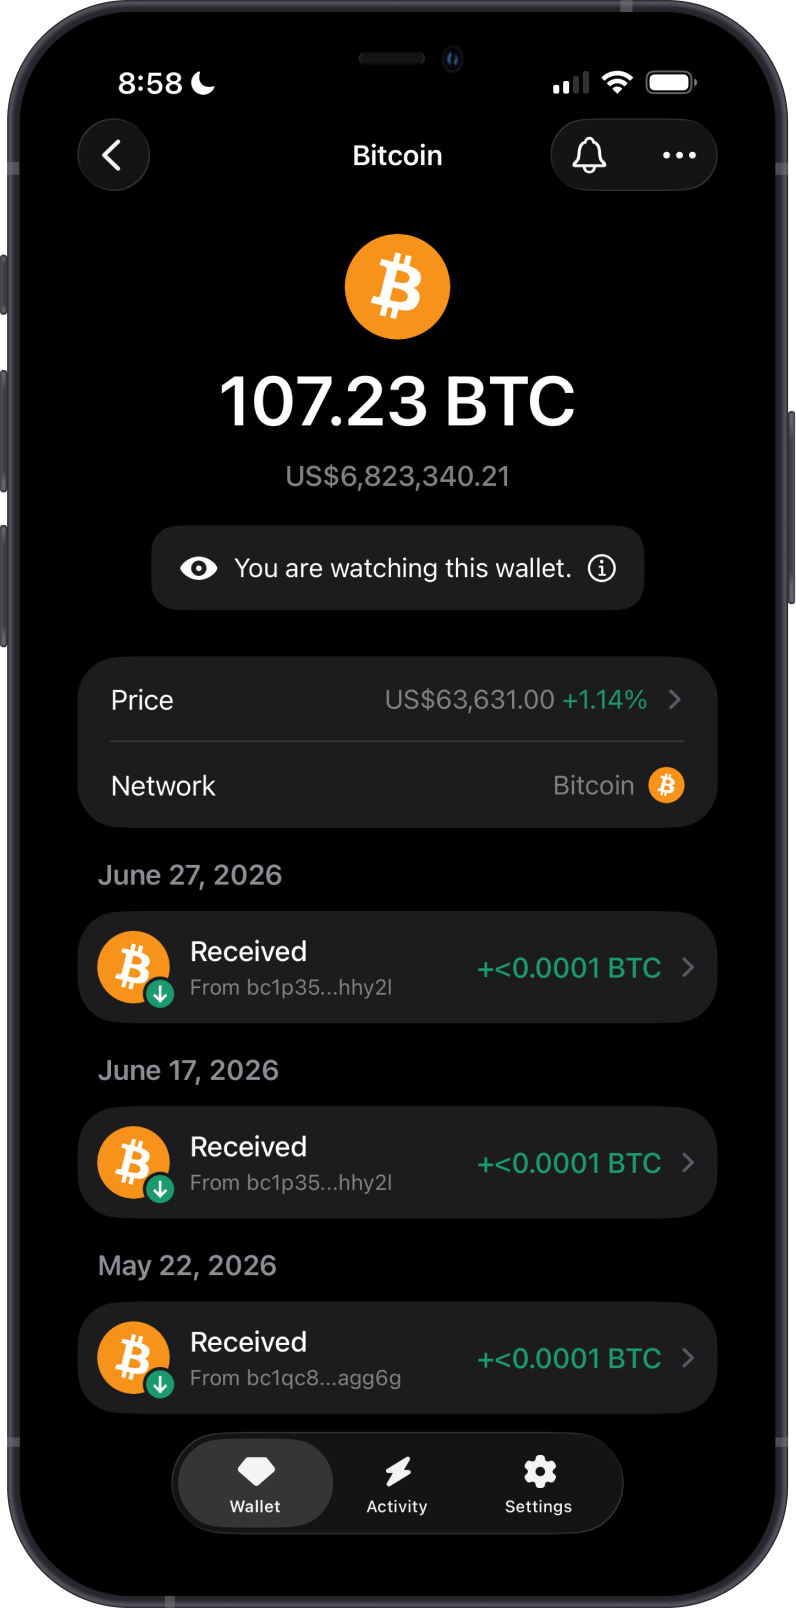
Step 4 - View the Bitcoin Address
The wallet is marked You are watching this wallet. You can view its Bitcoin balance and open the asset to see its public transaction history.
Add an Ethereum Watch Wallet
You can follow the same process for Ethereum and other supported blockchains.
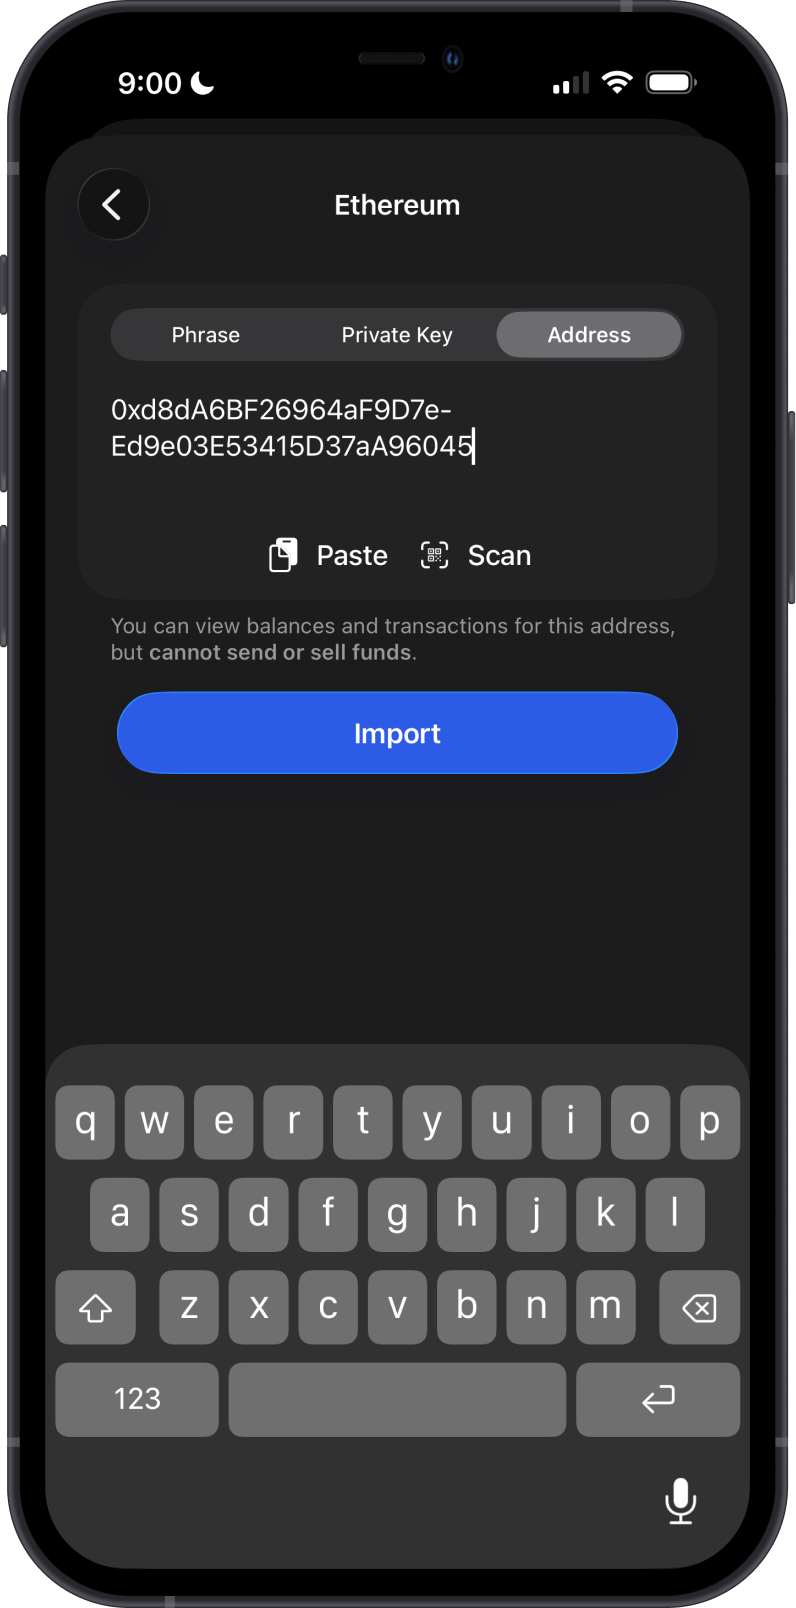
Step 1 - Enter the Ethereum Address
Return to Import an Existing Wallet, select Ethereum, and choose the Address tab. Paste or scan the public Ethereum address, then tap Import.
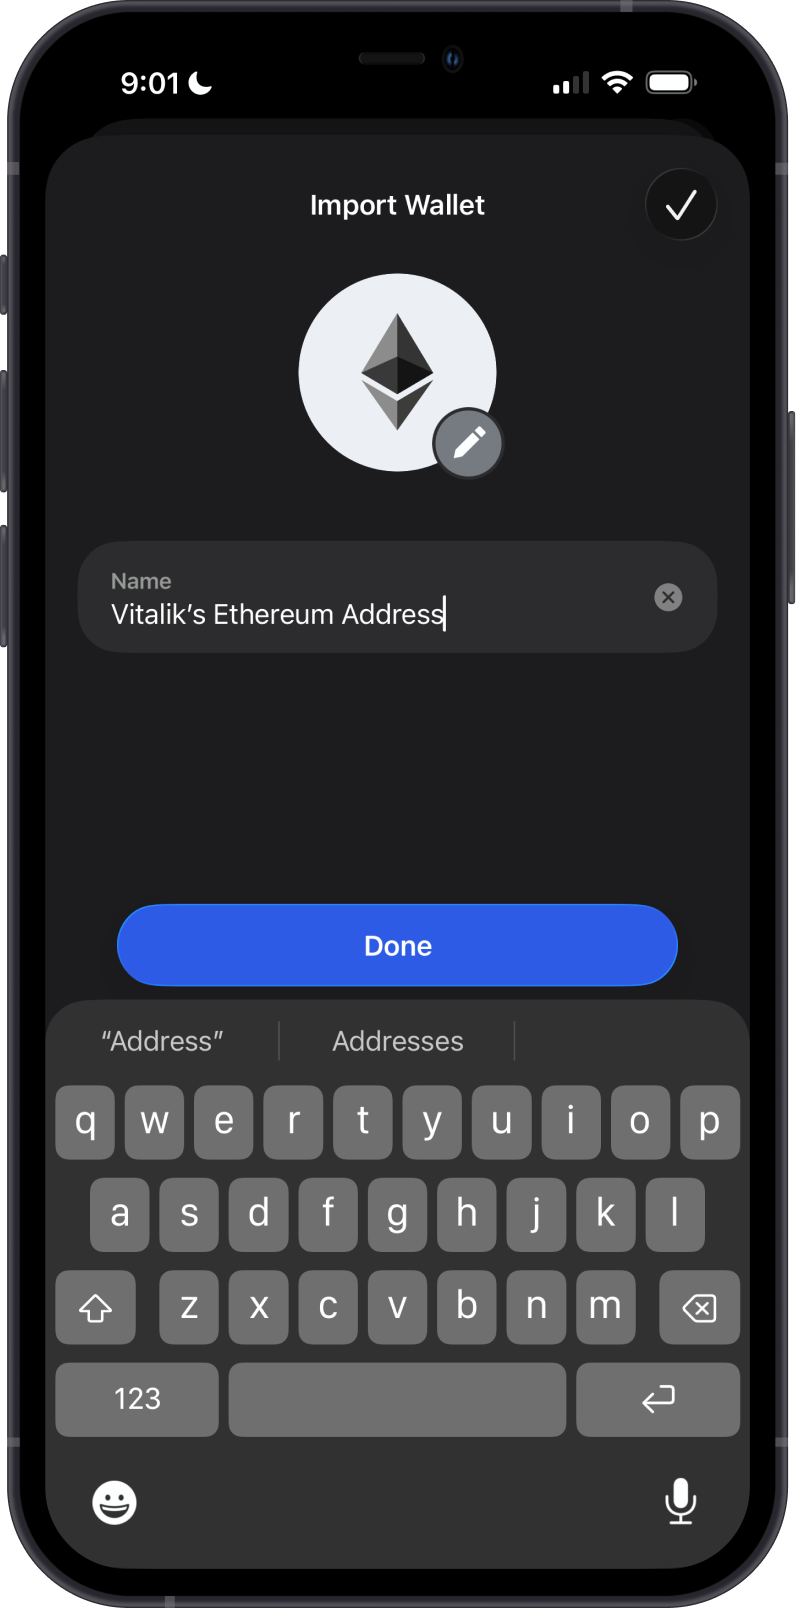
Step 2 - Name the Watch Wallet
Enter a name for the Ethereum address, then tap Done.
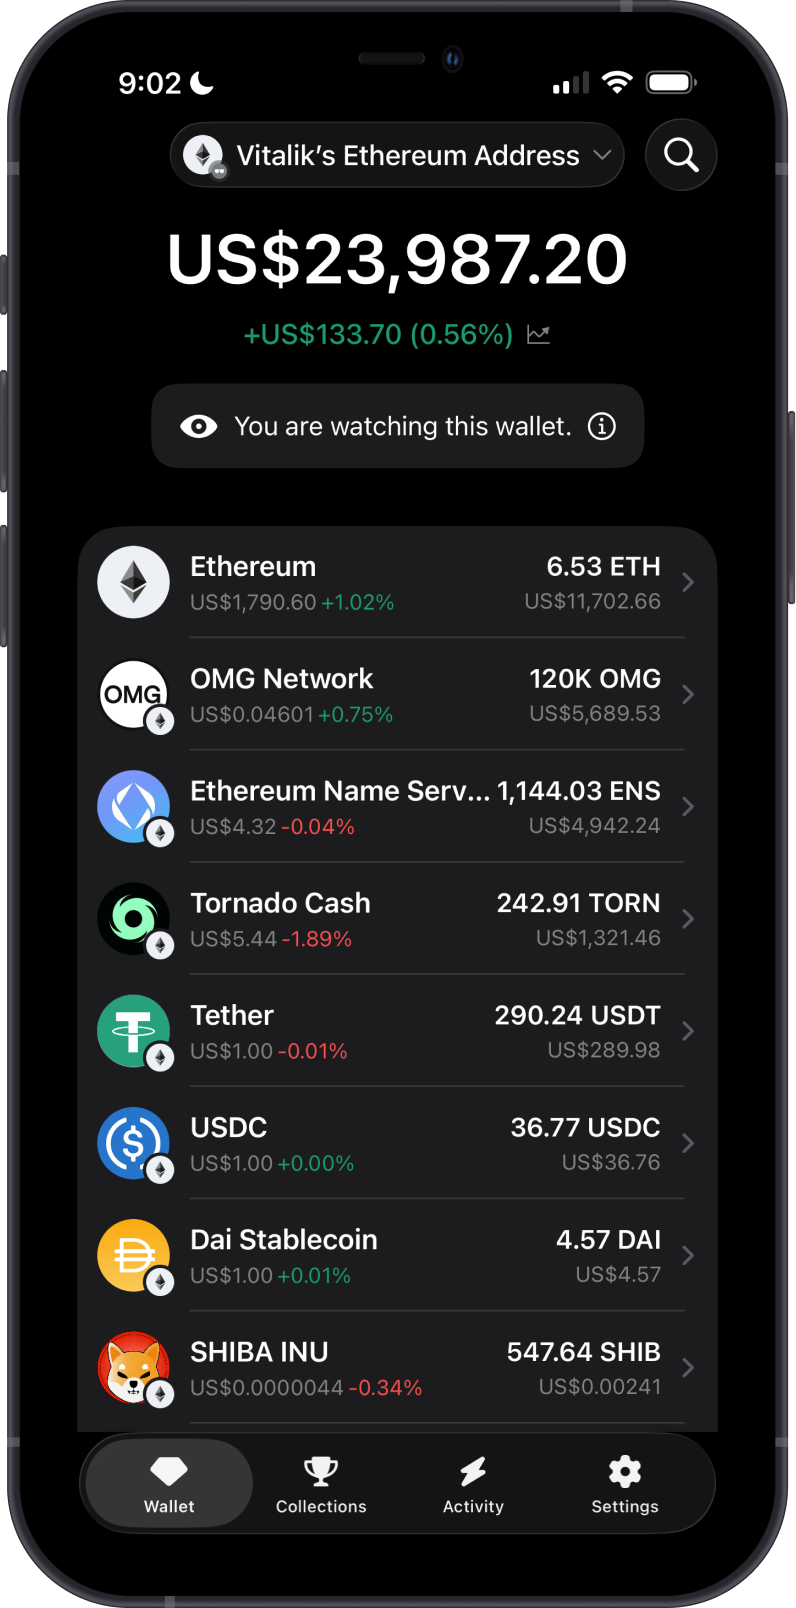
Step 3 - View Ethereum and Its Tokens
The Ethereum balance and any enabled tokens held by the address appear in view-only mode.
For blockchains that support tokens, token assets may not appear automatically in a Watch Wallet. Open Manage Tokens and manually enable each asset you want to view. See How to Add or Enable a Token for instructions.