How to Add a Token or Custom Token on Gem Wallet
This guide explains what tokens are in Gem Wallet, which token standards are supported, and how to make tokens visible in your wallet. You will also learn how to search for listed tokens, enable them on the main screen, and manually add a custom token by using its contract address.
What are Tokens on Gem Wallet?
Gem Wallet supports thousands of tokens that live on supported blockchains. Token support depends on the network you are using. Here are the token standards and token types currently supported:
-
ERC20: Tokens on Ethereum and EVM-compatible networks, including Polygon, Arbitrum, Optimism, Base, Avalanche C-Chain, Fantom, Gnosis Chain, Sei EVM, Manta, Blast, zkSync, Linea, Mantle, Celo, World Chain, Sonic, Plasma, Abstract, Berachain, Ink, Unichain, HyperEVM, Monad, X Layer, and Stable.
-
SPL and SPL Token-2022: Token standards used by the Solana blockchain.
-
Aptos tokens: Tokens that operate on the Aptos blockchain.
-
Algorand Standard Assets (ASA): Tokens and assets issued on the Algorand blockchain.
-
XRP Ledger issued tokens: Tokens issued on XRP Ledger accounts.
-
Stellar assets: Tokens issued on the Stellar network.
-
Hyperliquid spot assets: Spot tokens on Hyperliquid L1.
Other supported blockchains may only support their native asset in Gem Wallet.
If you are not sure whether an asset is a coin or a token, see Coin vs Token.
How to Add or Enable a Token
The following steps show how to add or enable a token that is already listed in Gem Wallet. This is useful if you received a listed token but it does not appear automatically on the main screen.
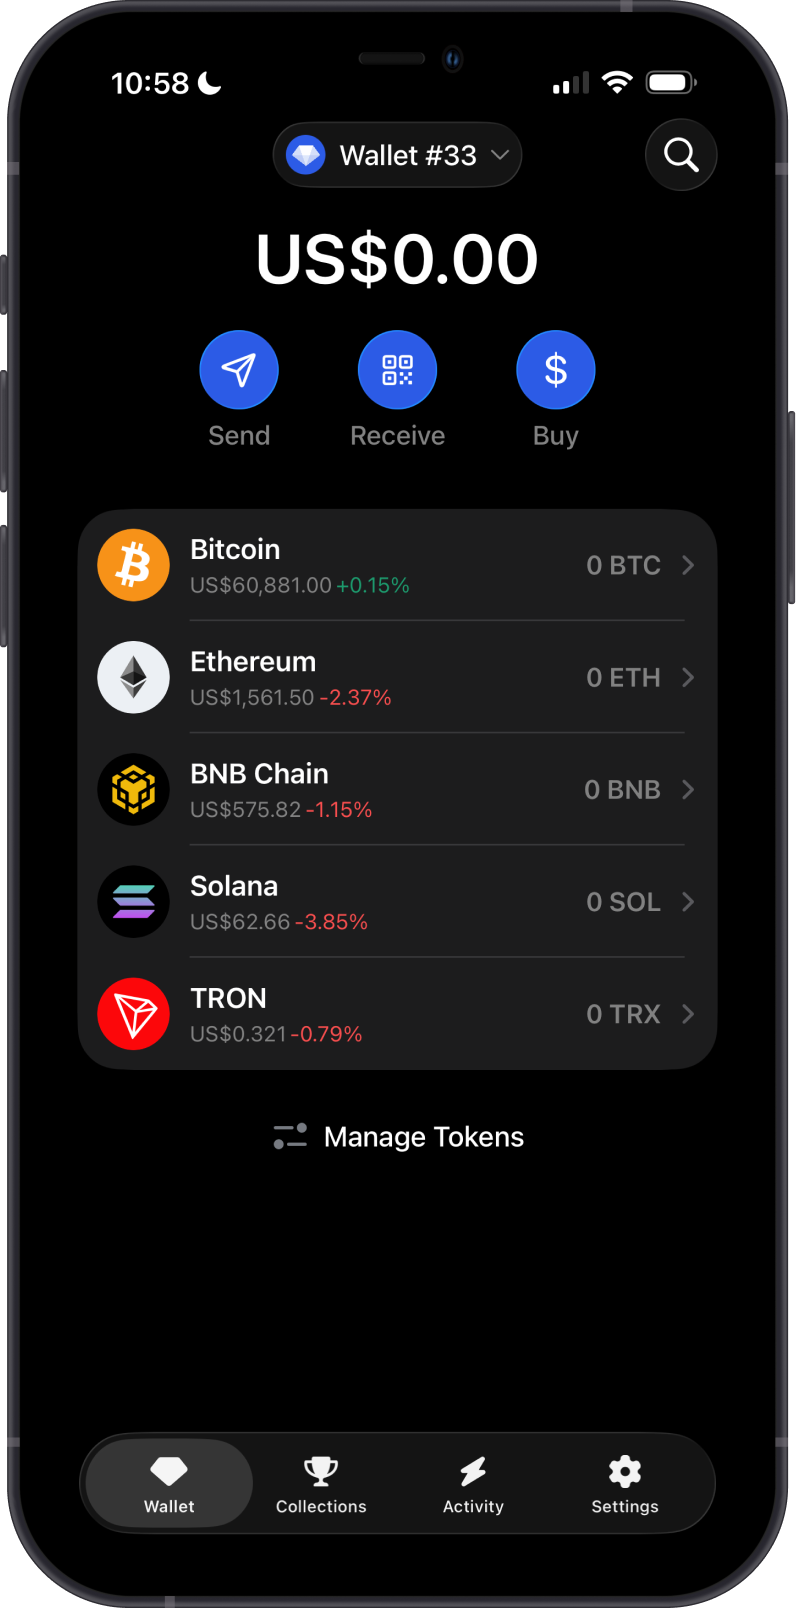
Step 1 - Open Manage Tokens
From the main wallet screen, tap Manage Tokens below your asset list.

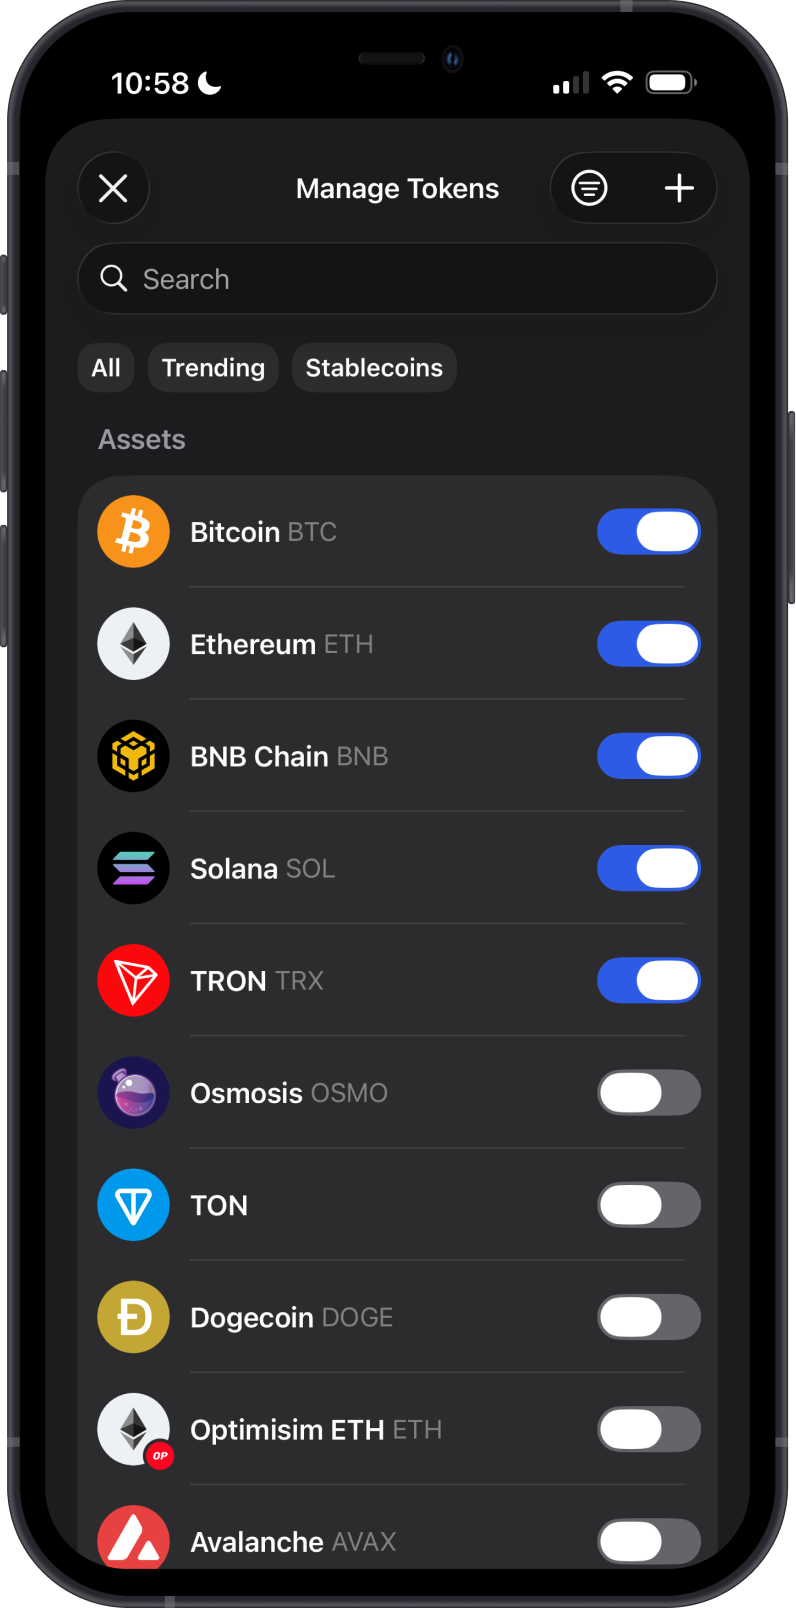
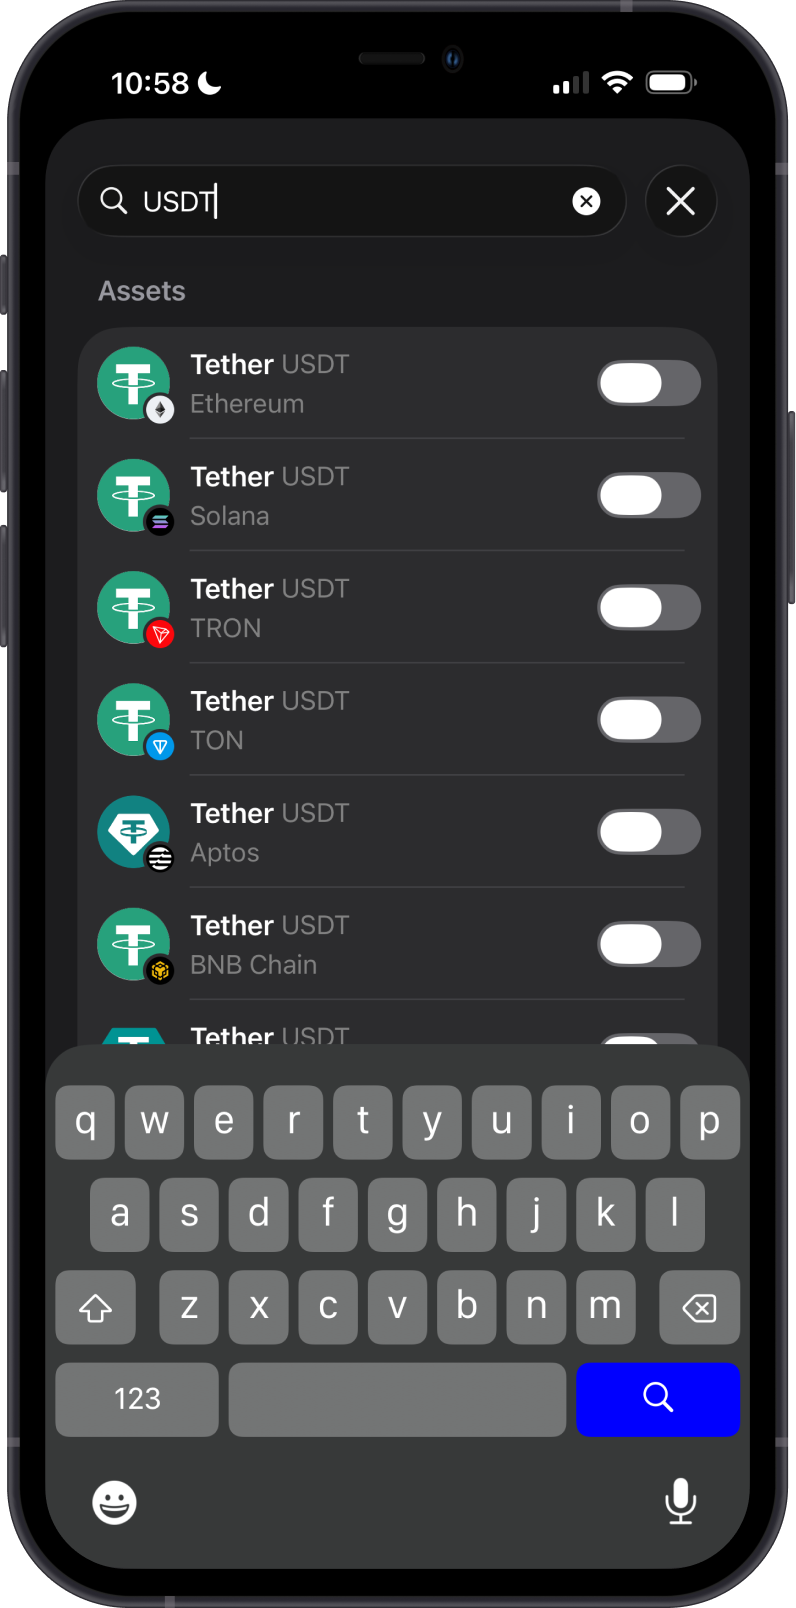
Step 2 - Search and Enable the Token
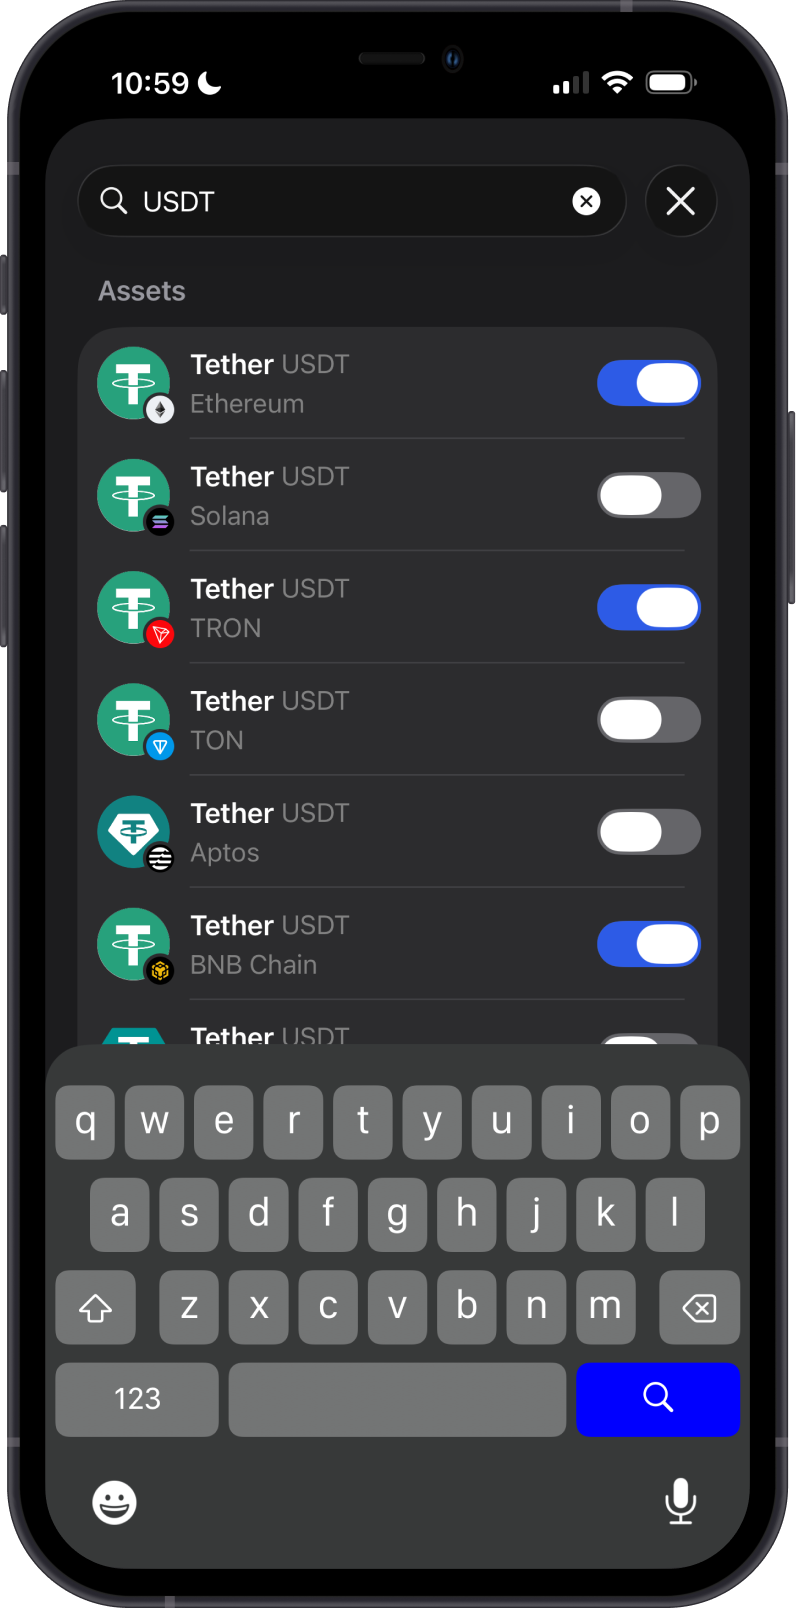
Type the token name or symbol in the search bar. Choose the token on the correct network, then slide the toggle to the right to enable it.
For this guide, we are searching for USDT. Gem Wallet shows each supported USDT token separately by network, such as Ethereum, TRON, Solana, TON, Aptos, and BNB Chain.
Step 3 - View the Enabled Token
Return to the main wallet screen to see the enabled token in your asset list. Tap the token to open its details and confirm the network.
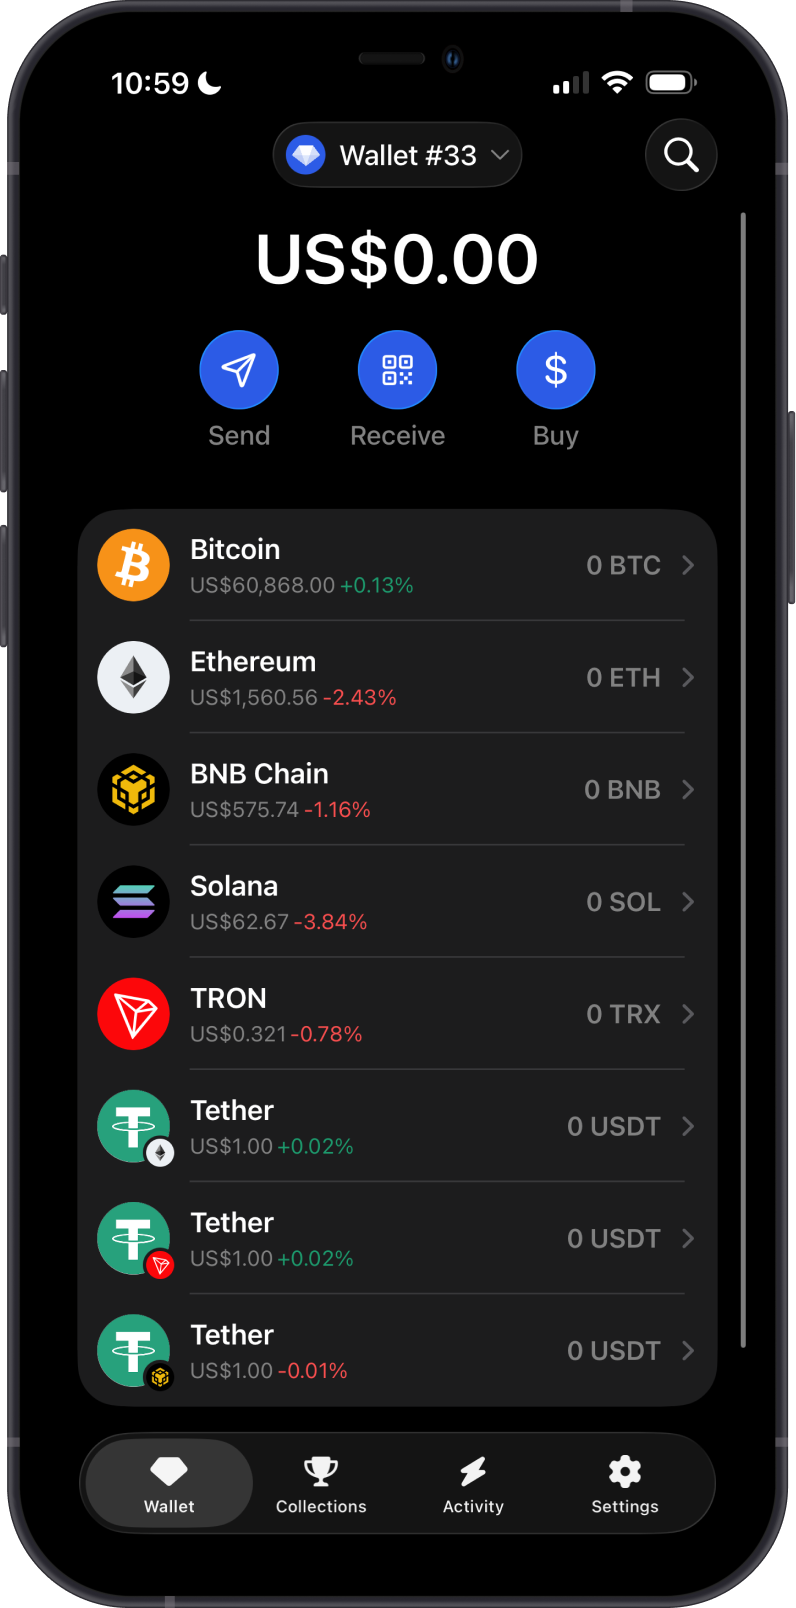
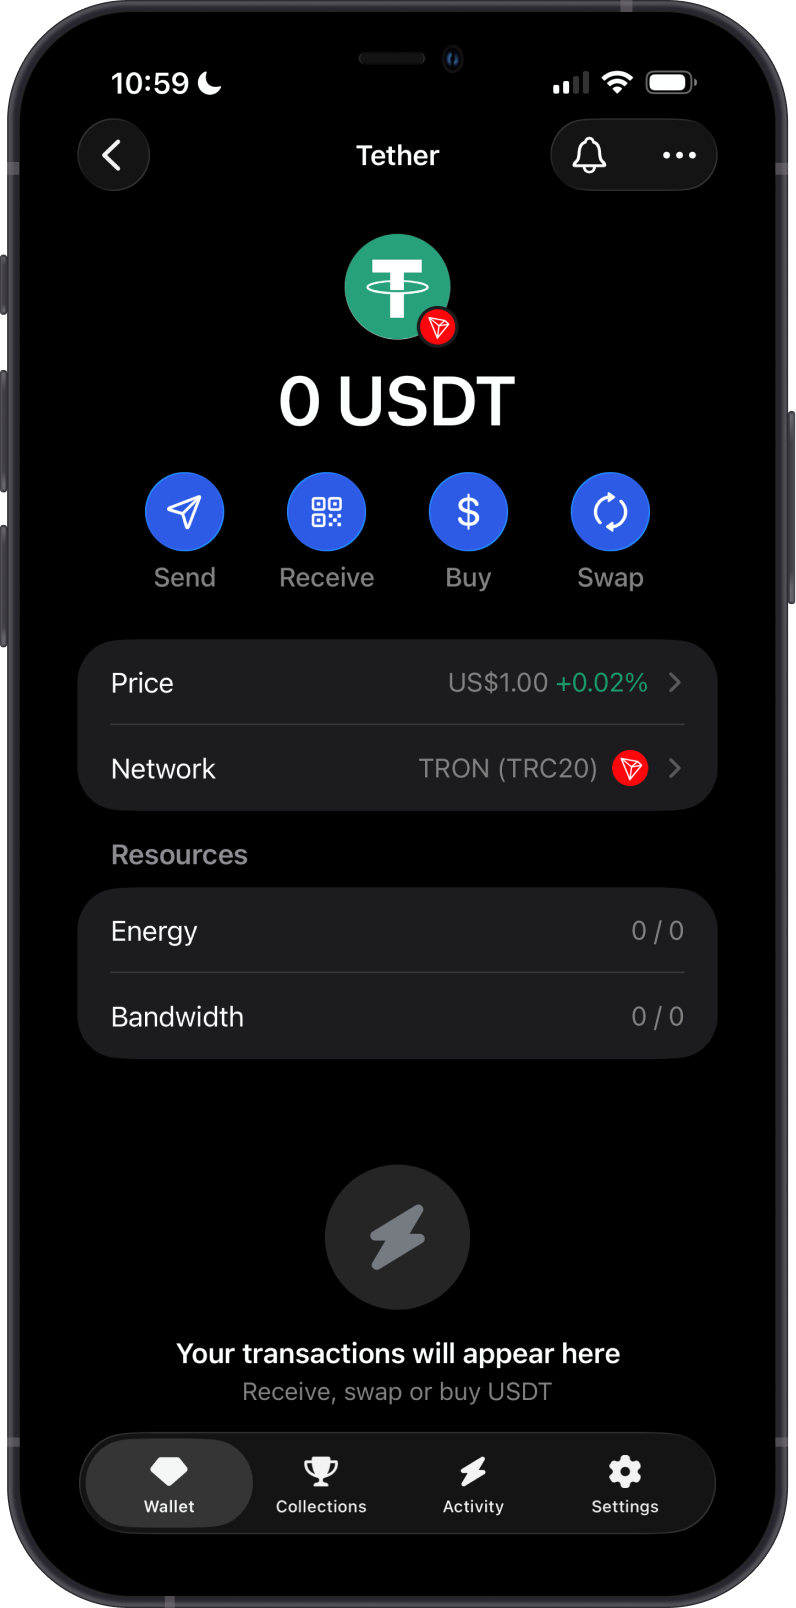
Congratulations! You have successfully added a token.
If the token you are looking for does not show up in search, you can add it as a custom token by using its token contract address.
How to Add a Custom Token
Only add a custom token if you trust the source of the contract address. Always confirm that the token contract matches the correct blockchain network before adding or receiving funds. Learn more in Unverified and Suspicious Tokens in Gem Wallet.
You can manually add a token by pasting its contract address into Manage Tokens. Custom tokens are supported only on networks where Gem Wallet supports token contracts.
Step 1 - Open Manage Tokens
From the main wallet screen, tap Manage Tokens below your asset list. On the Manage Tokens screen, tap the + icon.

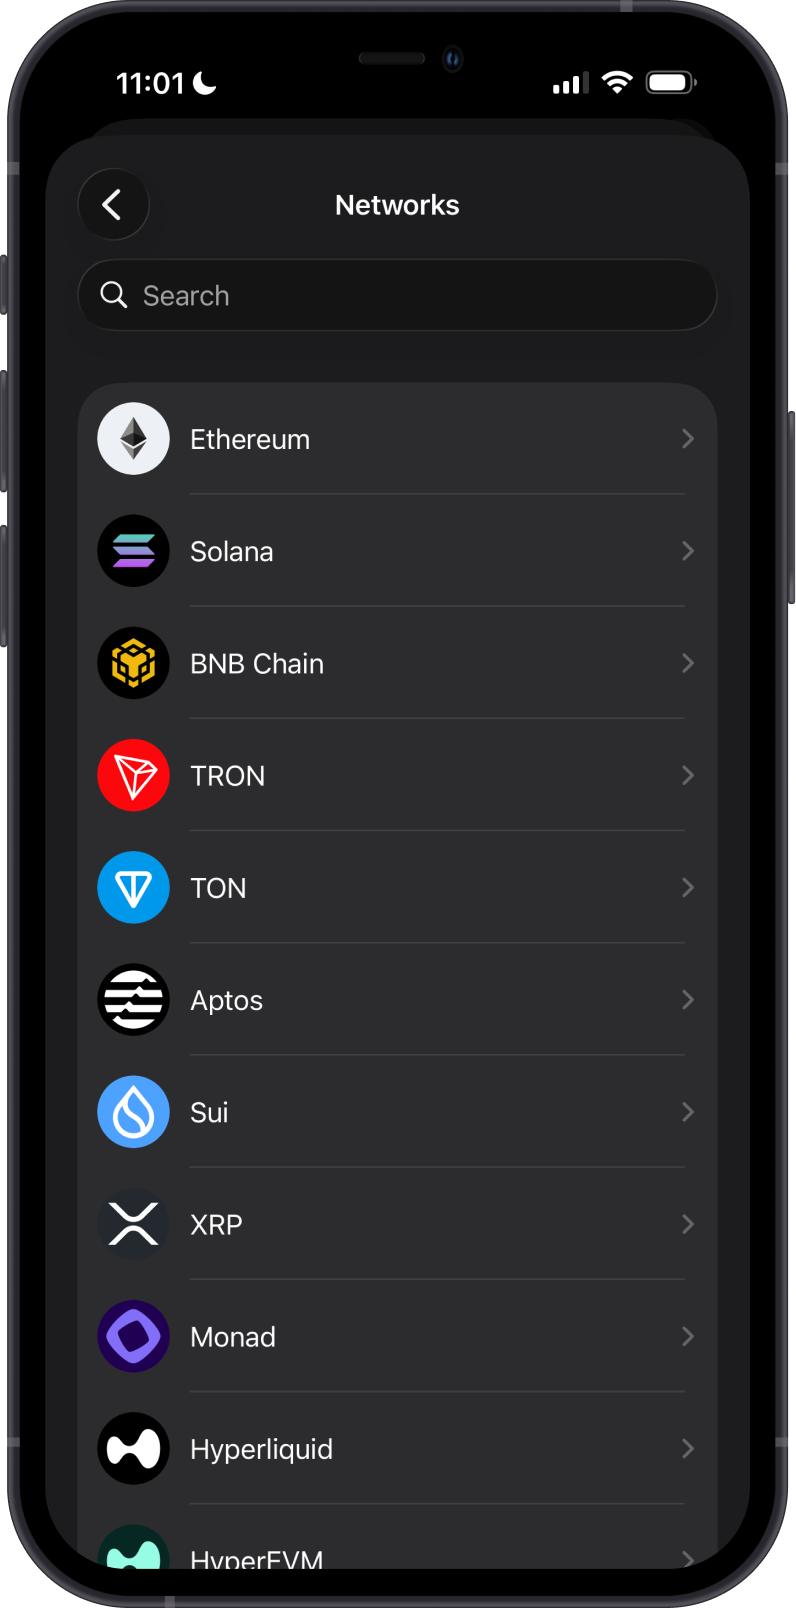
Step 2 - Choose the Network
On the Add Token screen, tap the network field and select the blockchain where the token contract exists.
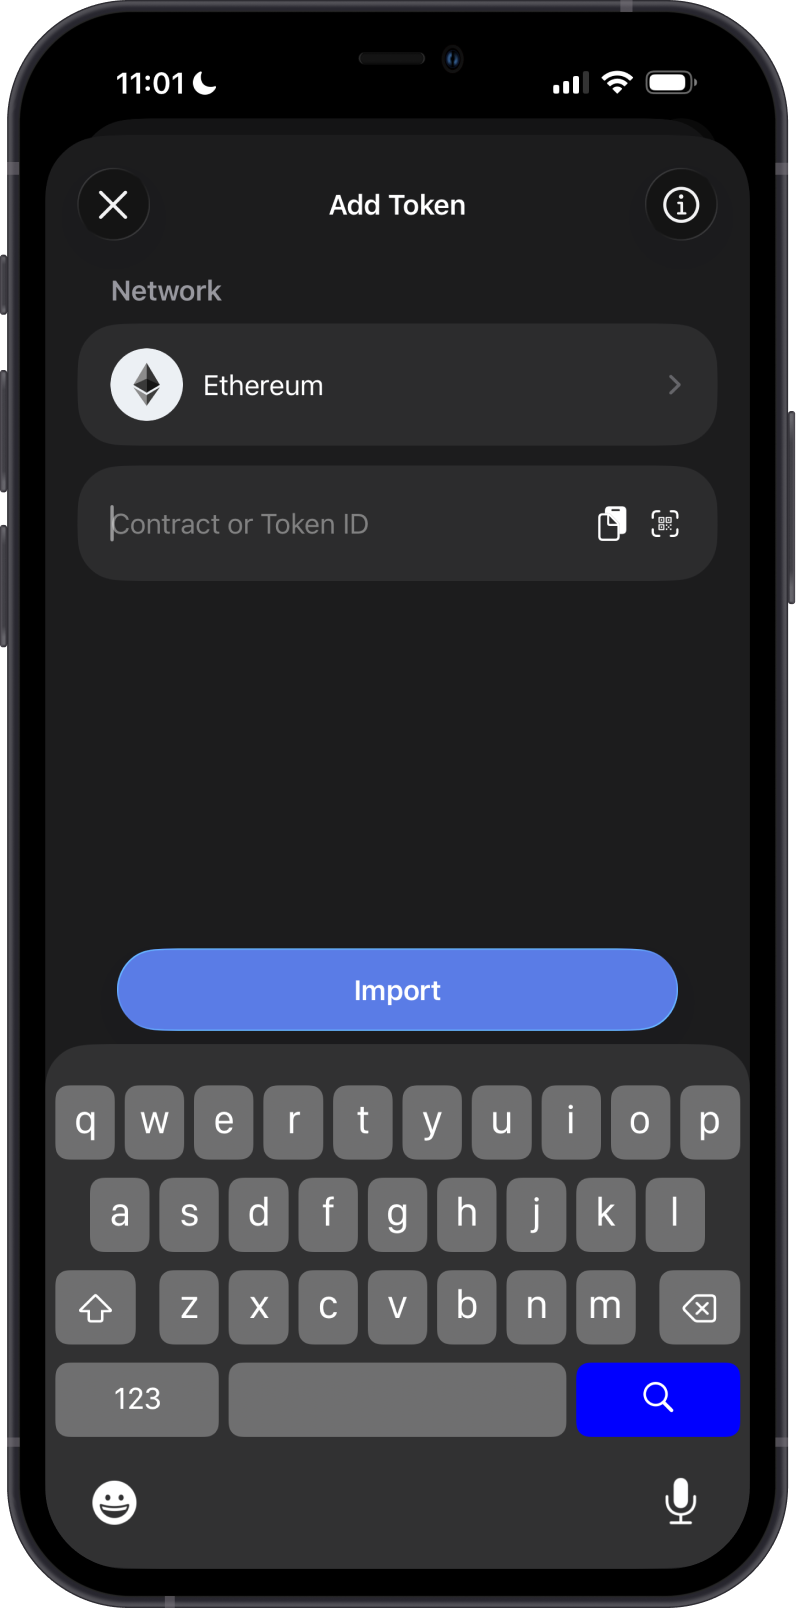
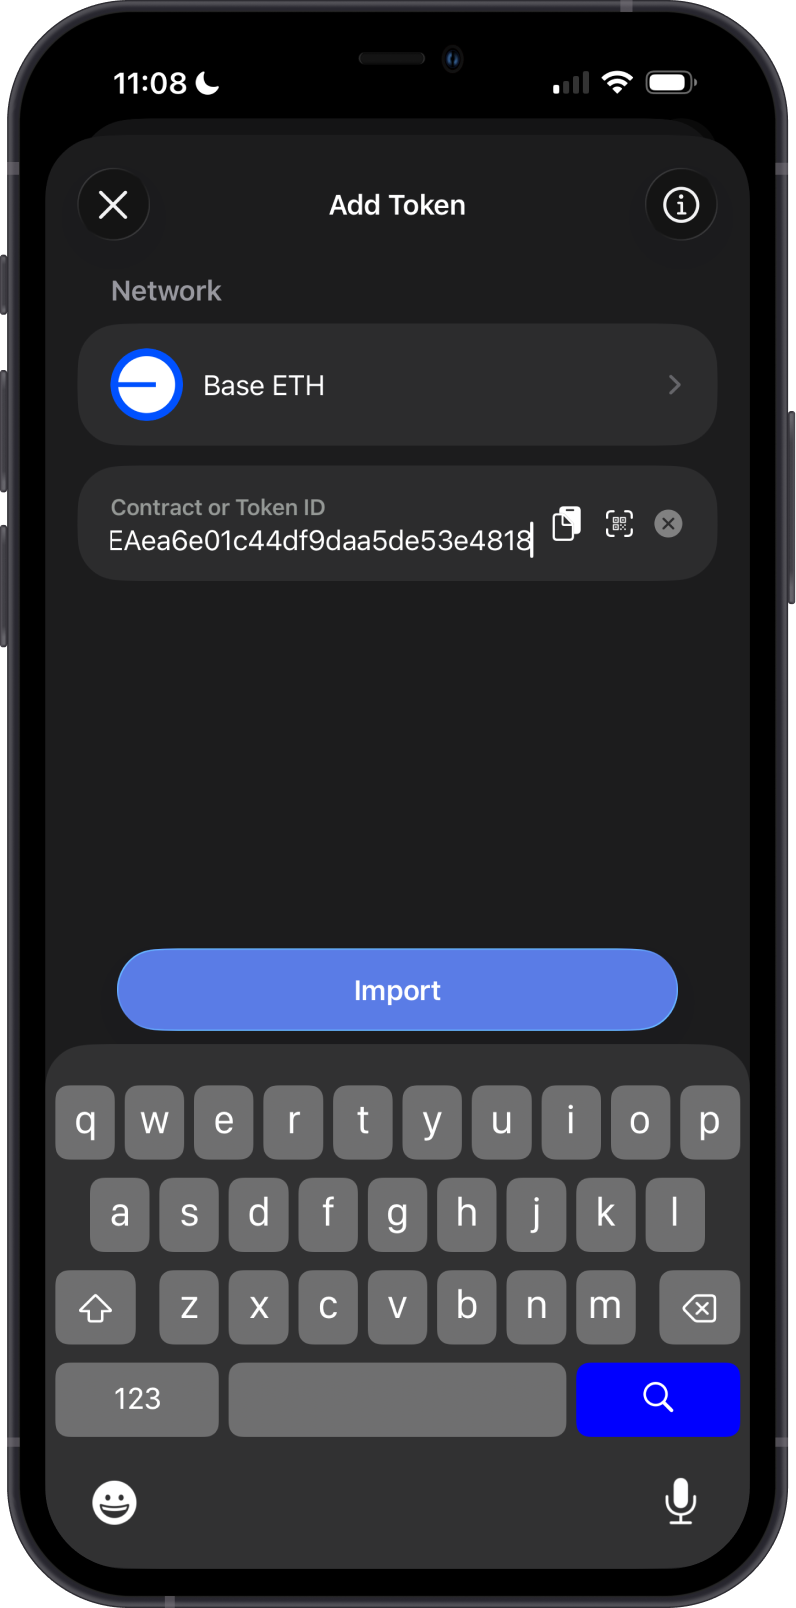
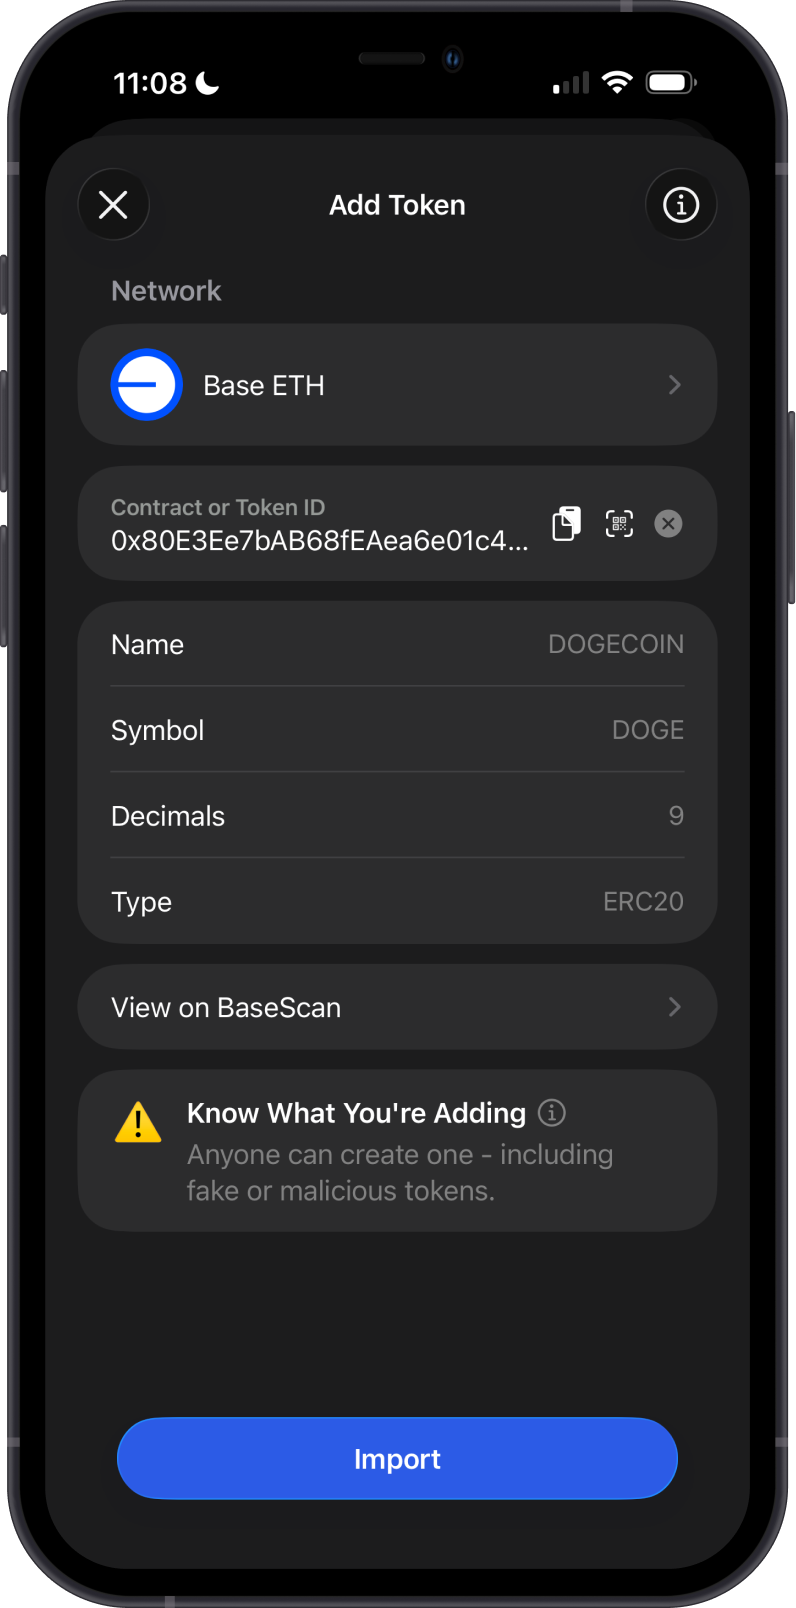
Step 3 - Enter or Scan the Contract
Paste the token contract address or token ID, then tap Search. You can also tap the QR code icon to scan the token contract address. Gem Wallet will load the token details, including name, symbol, decimals, and token type. Review the warning and token details carefully, then tap Import.
Step 4 - Custom Token Added
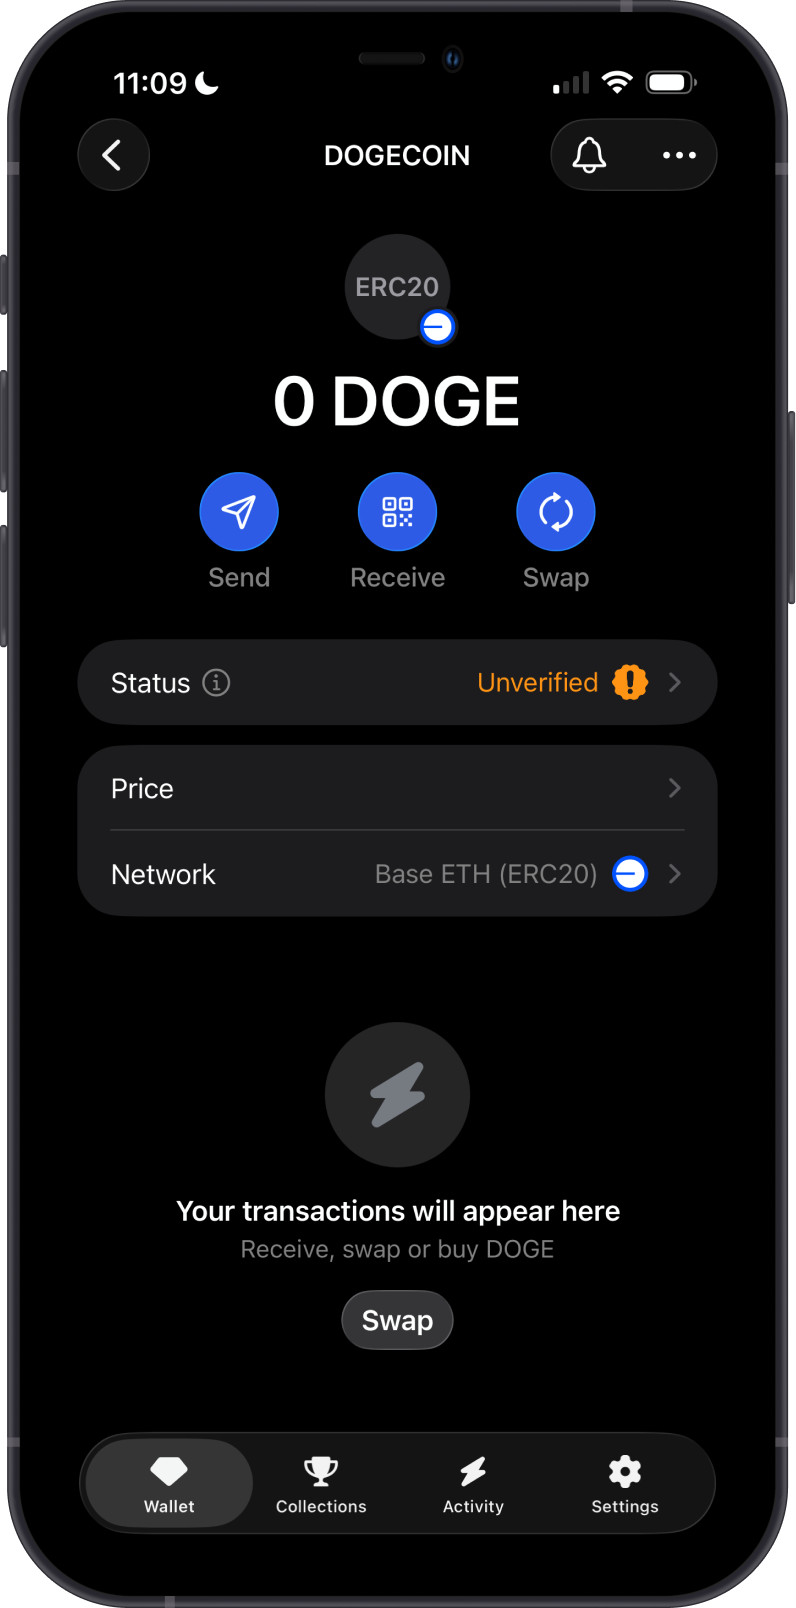
Return to the main wallet screen to see the custom token in your asset list. Tap the token to view its details, status, and network.
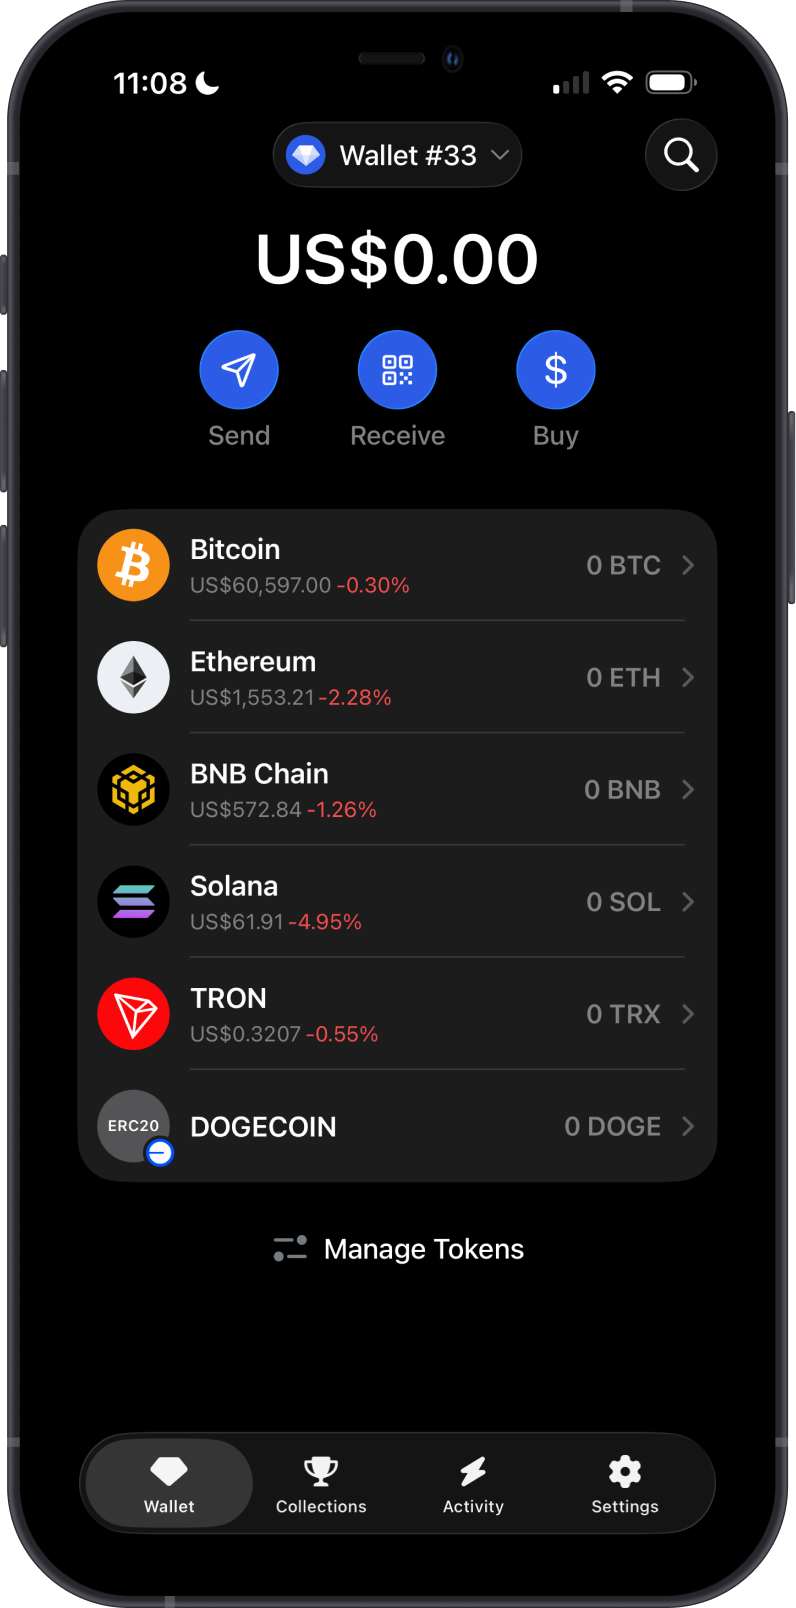
Congratulations! You have successfully added a Custom token.
New custom tokens may not show a logo right away. Logos and verification details are added to Gem Wallet's token database only after the token has been reviewed and verified.