Migrate OSMO From Keplr to Gem Wallet
How to Migrate your Osmosis (OSMO) from Keplr Wallet to Gem Wallet
This guide shows a live Keplr Wallet for educational purposes. We will migrate an OSMO address that is on Keplr Wallet to Gem Wallet.
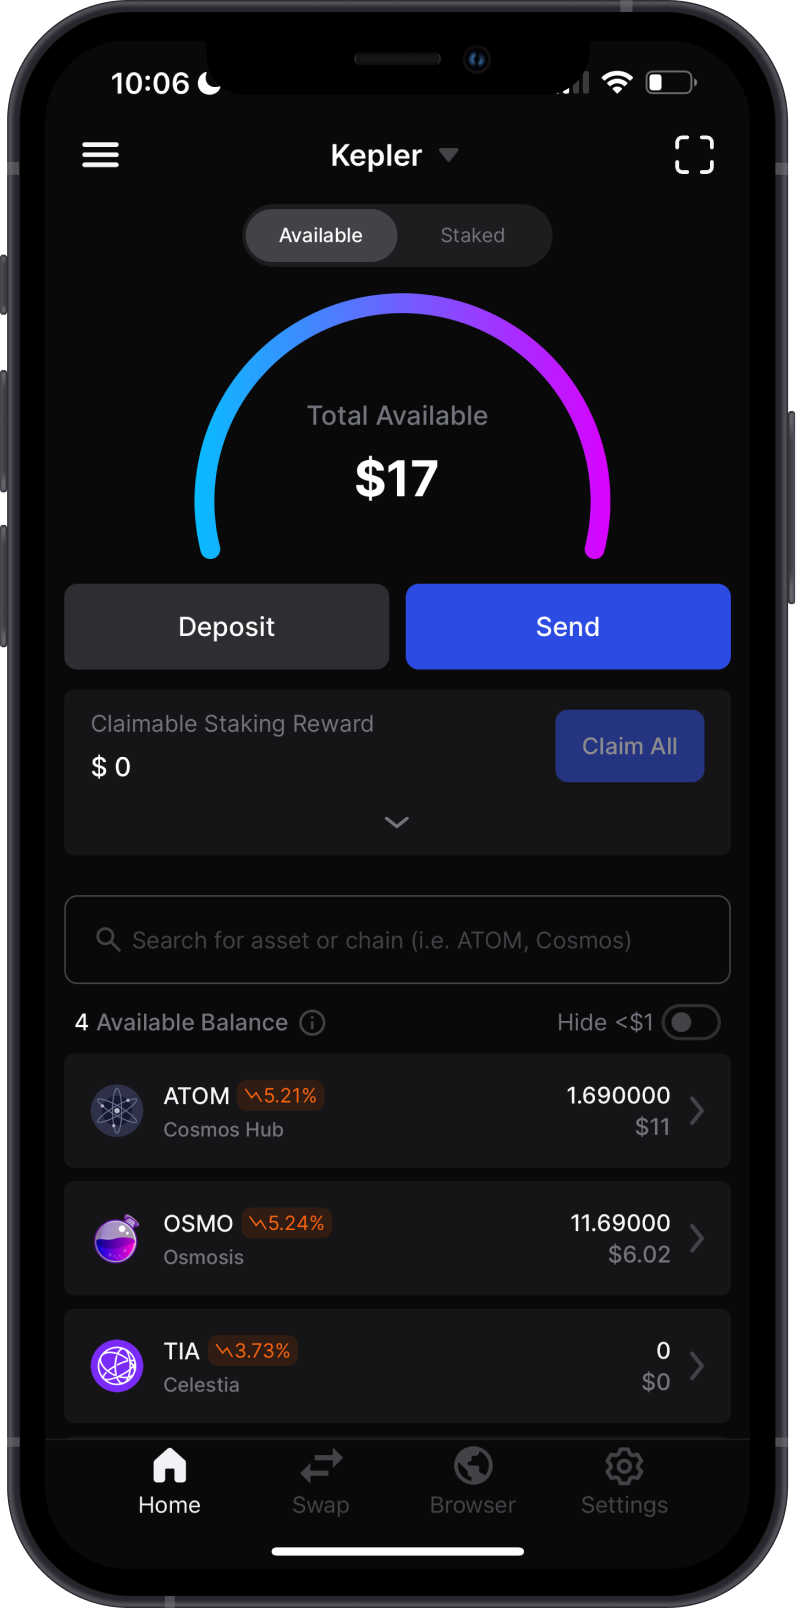
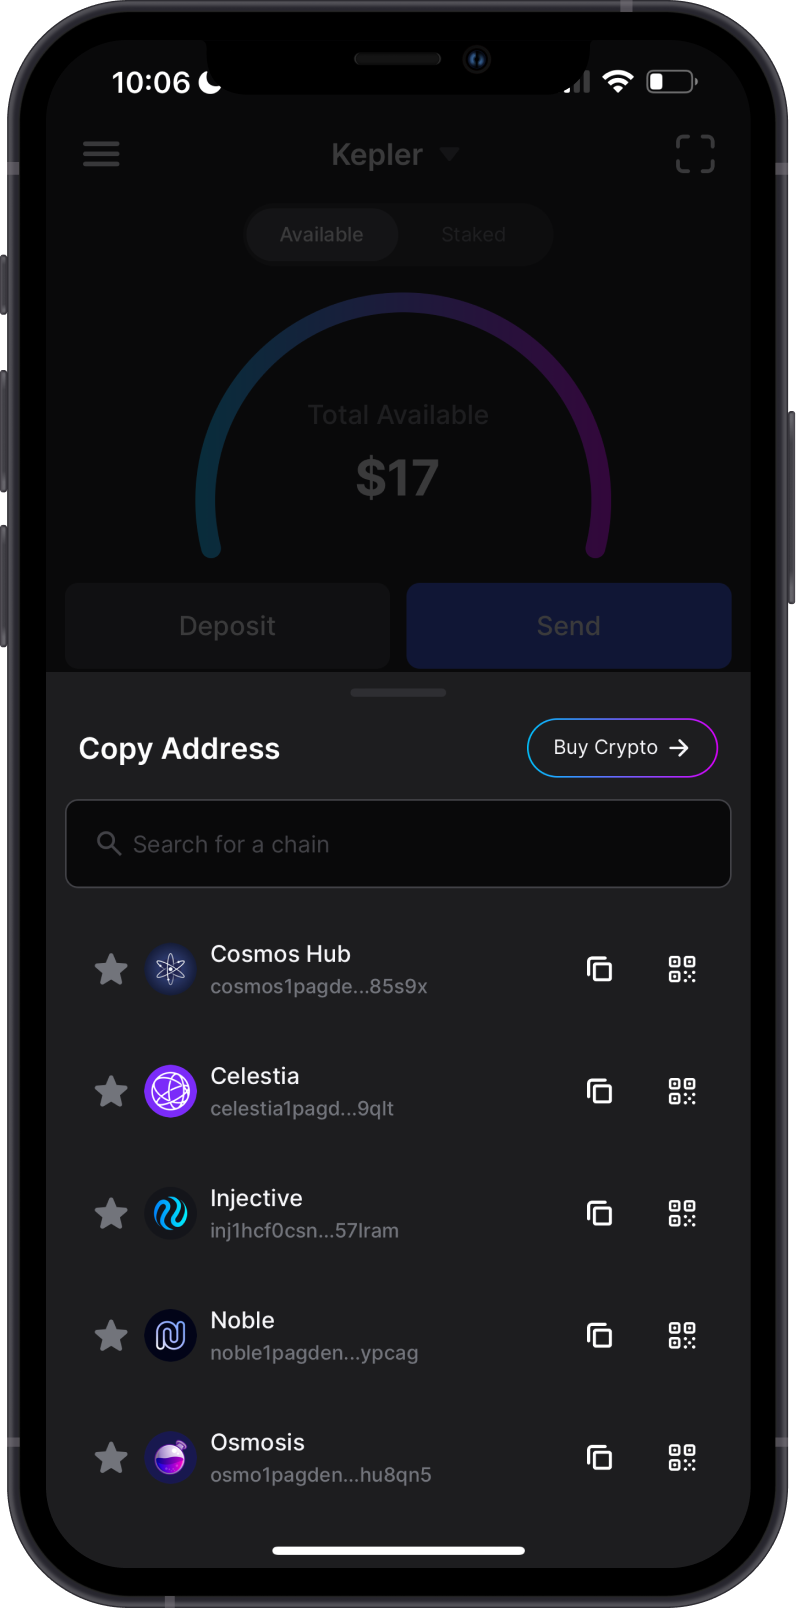
Choose the OS of the device you are using.
- iOS
- Android
Step 1 - Get Keplr Wallet Recovery Phrase
In order to migrate your Keplr Wallet to Gem Wallet, you need to get your Recovery Phrase. You can follow this official guide from Keplr Wallet on how to View Your Seed Phrase.
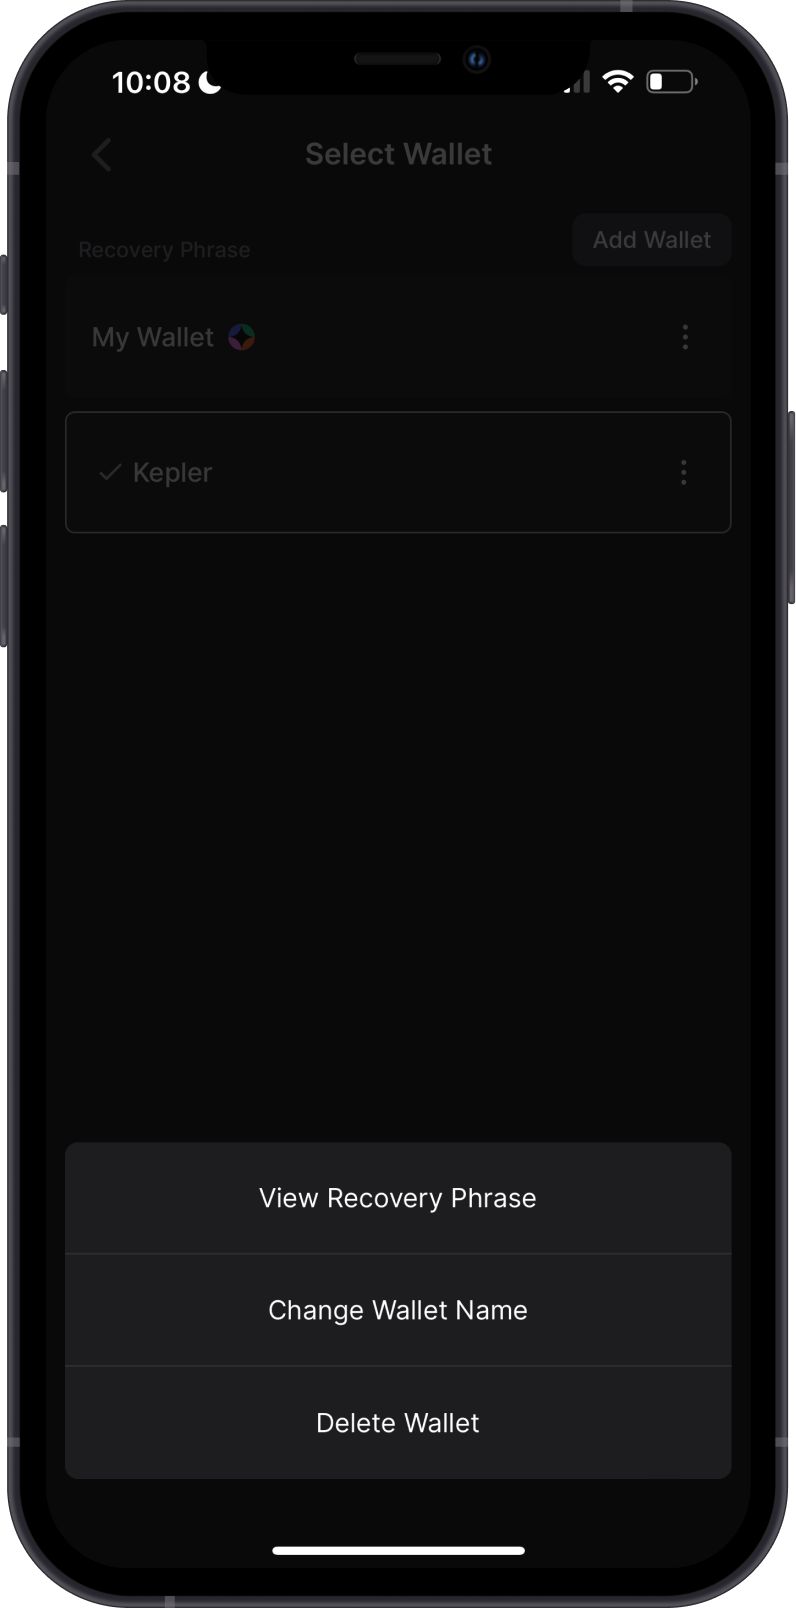
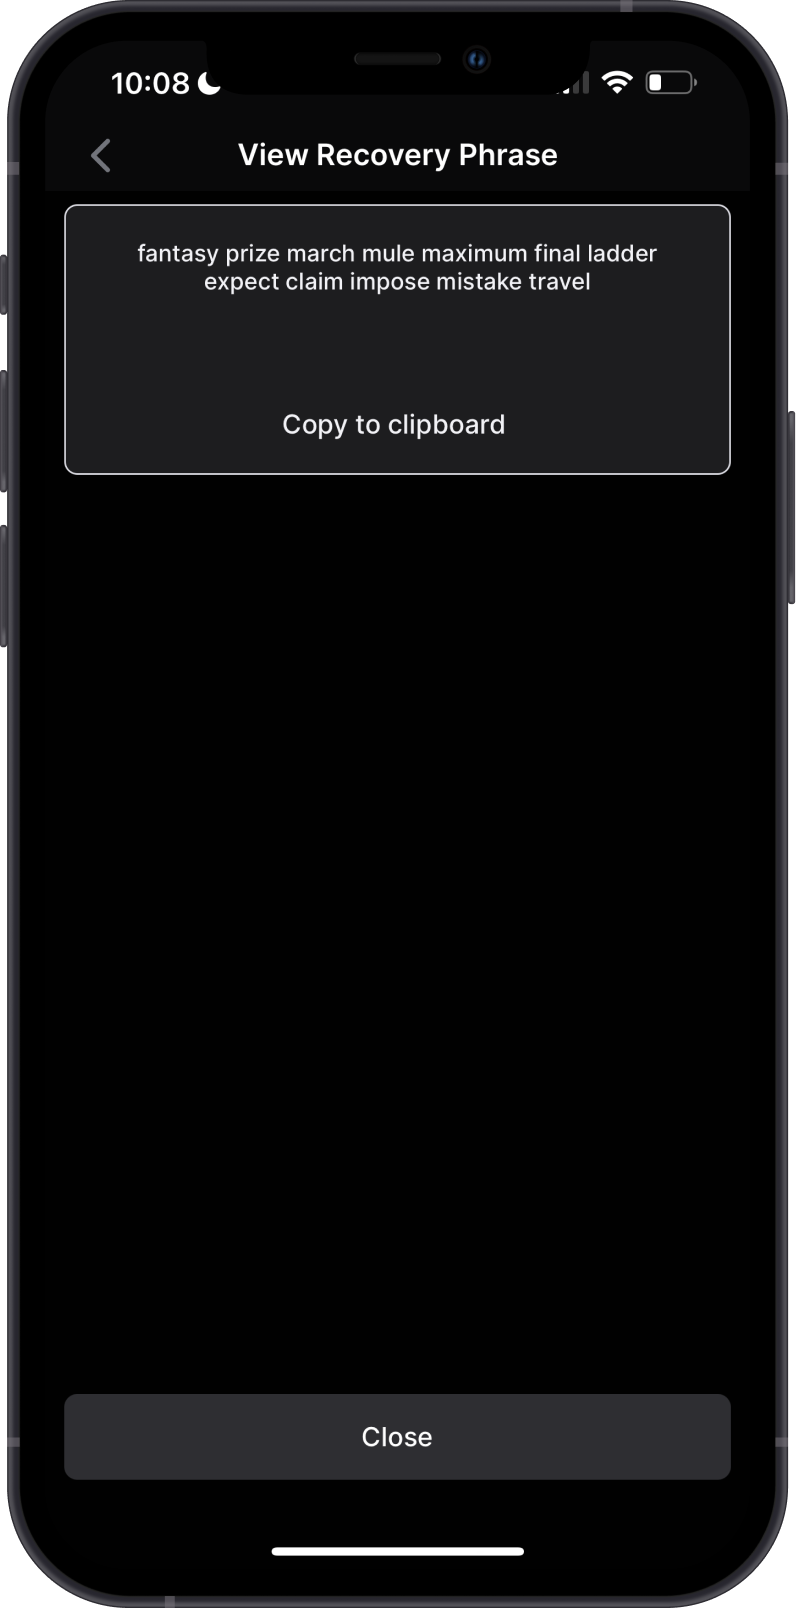
Always make sure that your Recovery Phrase is secure, do not share it with anyone.
Step 2 - Launch Gem Wallet
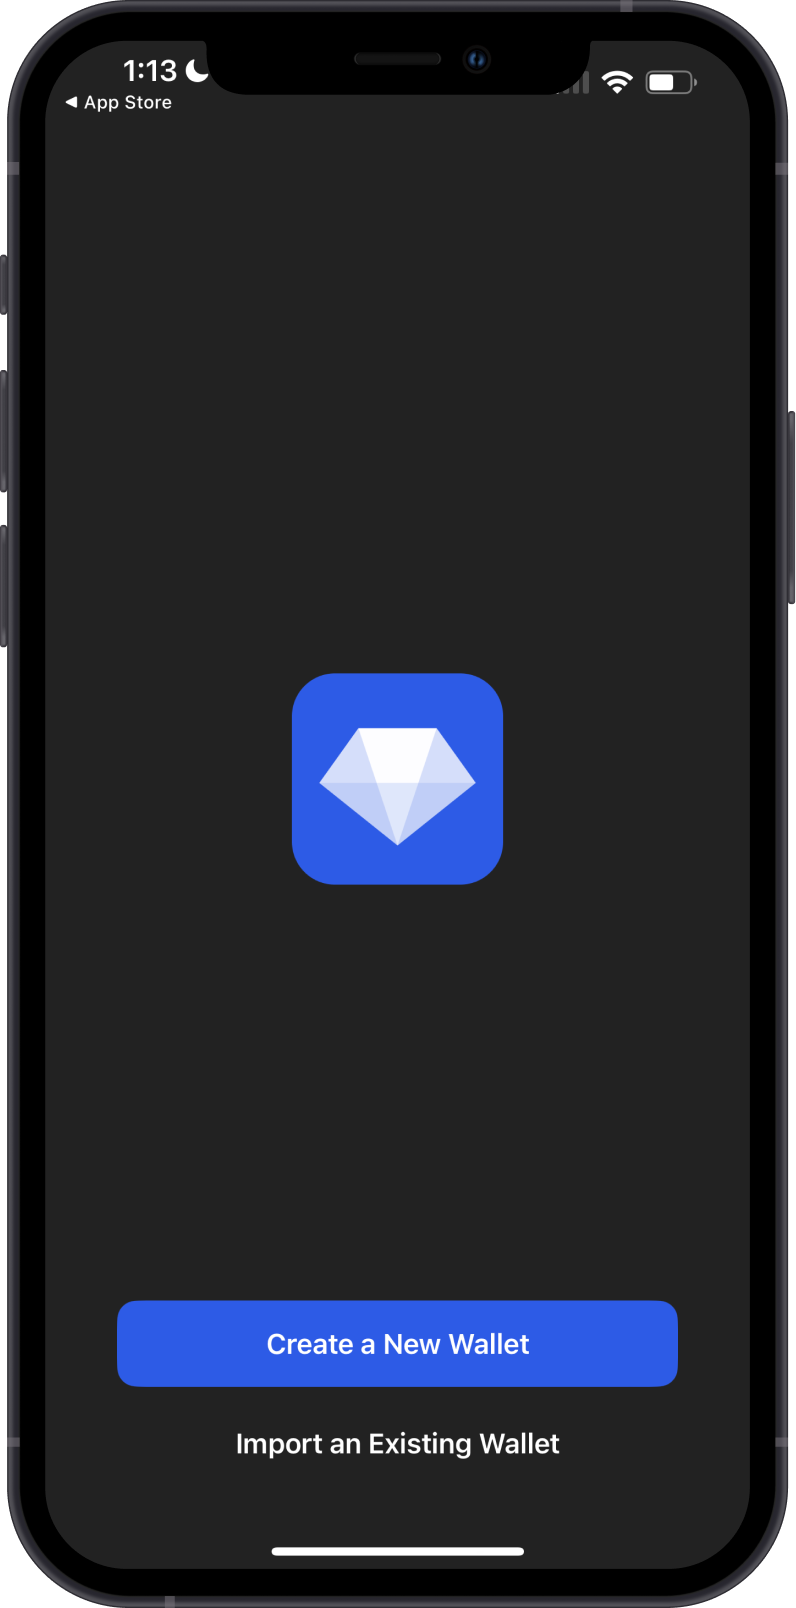
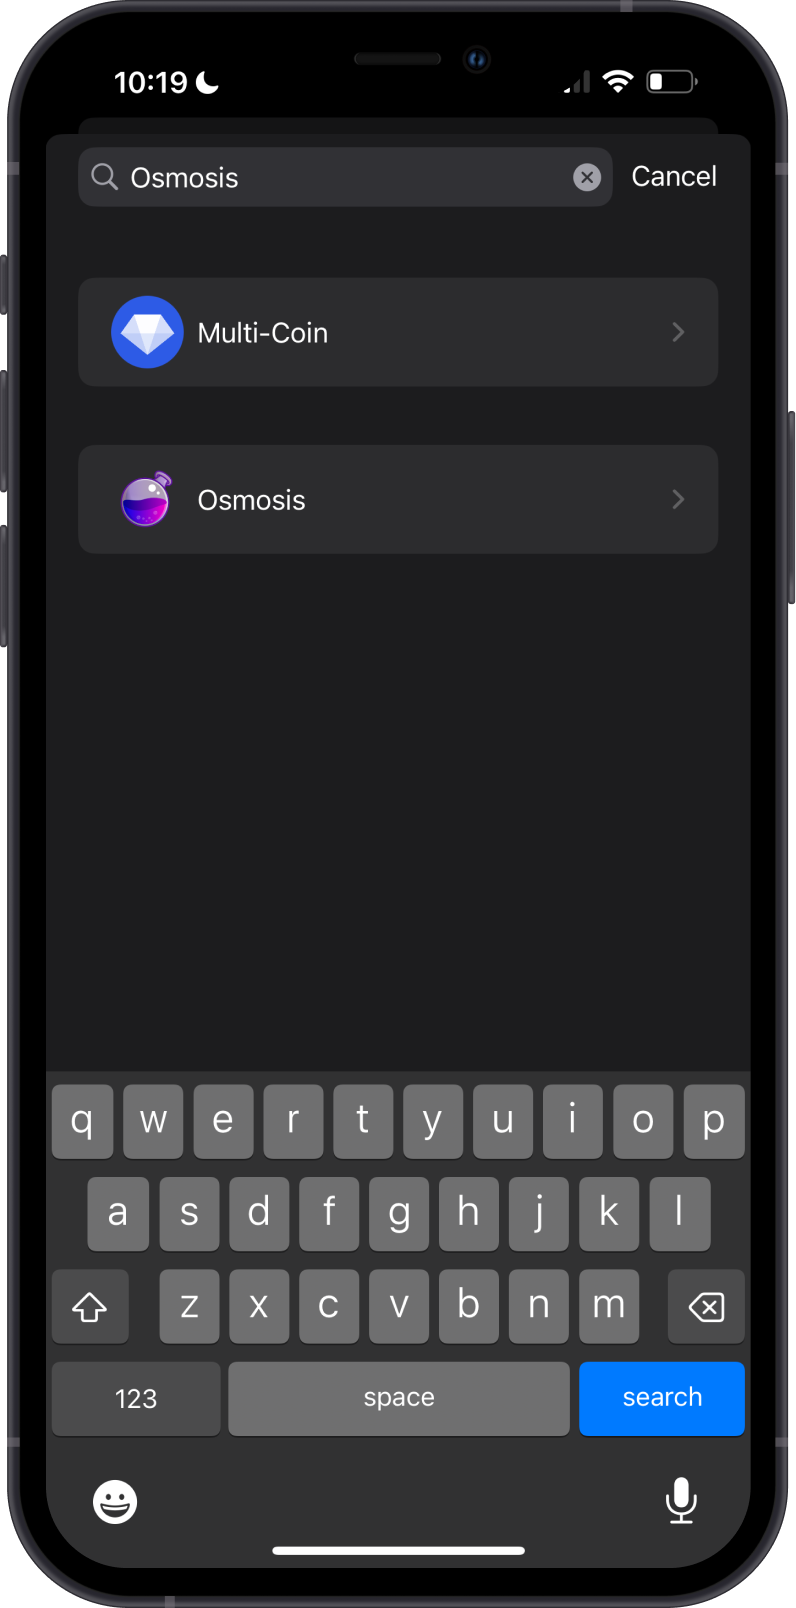
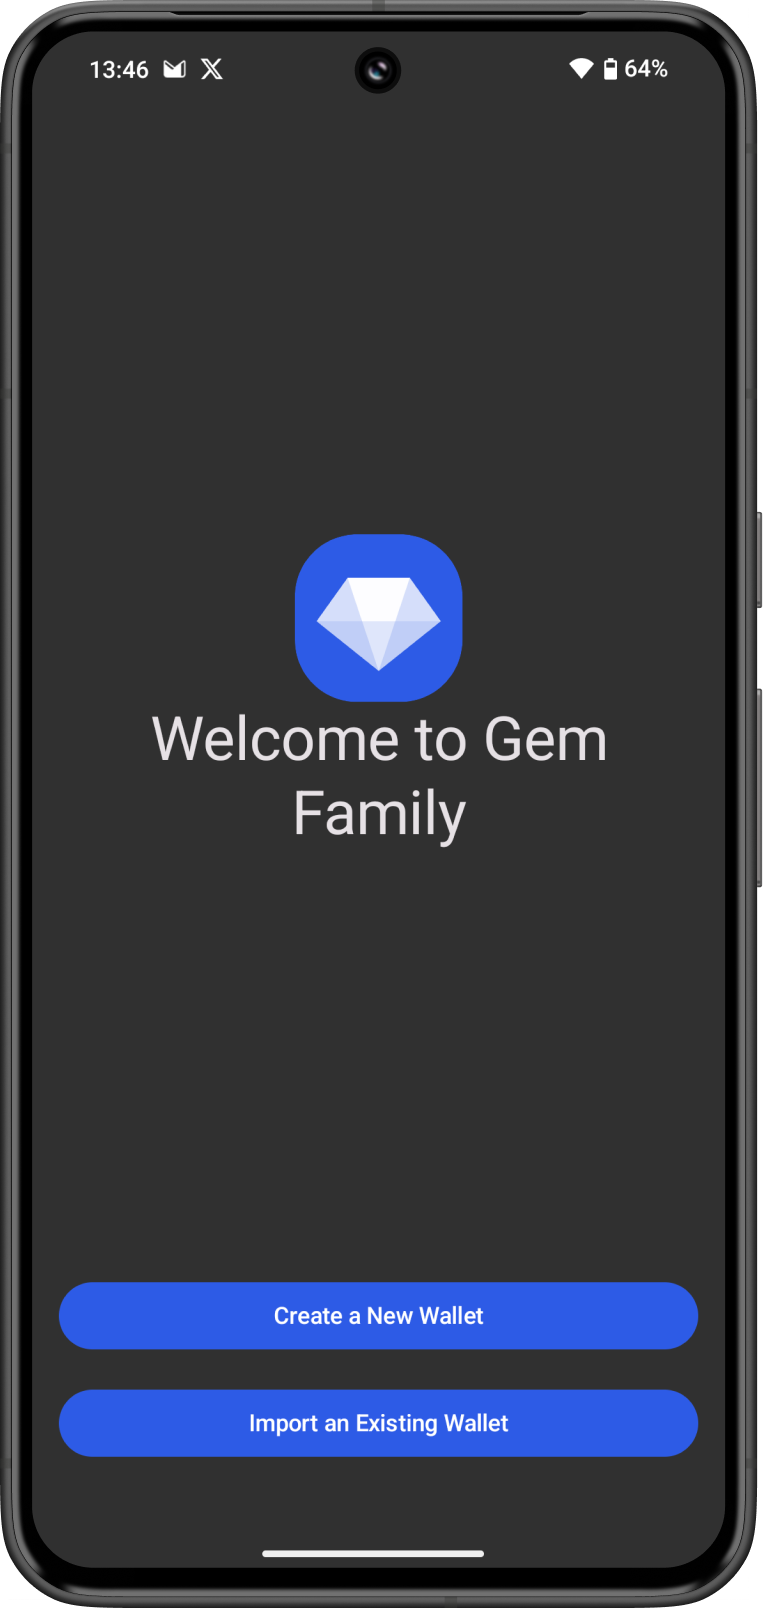
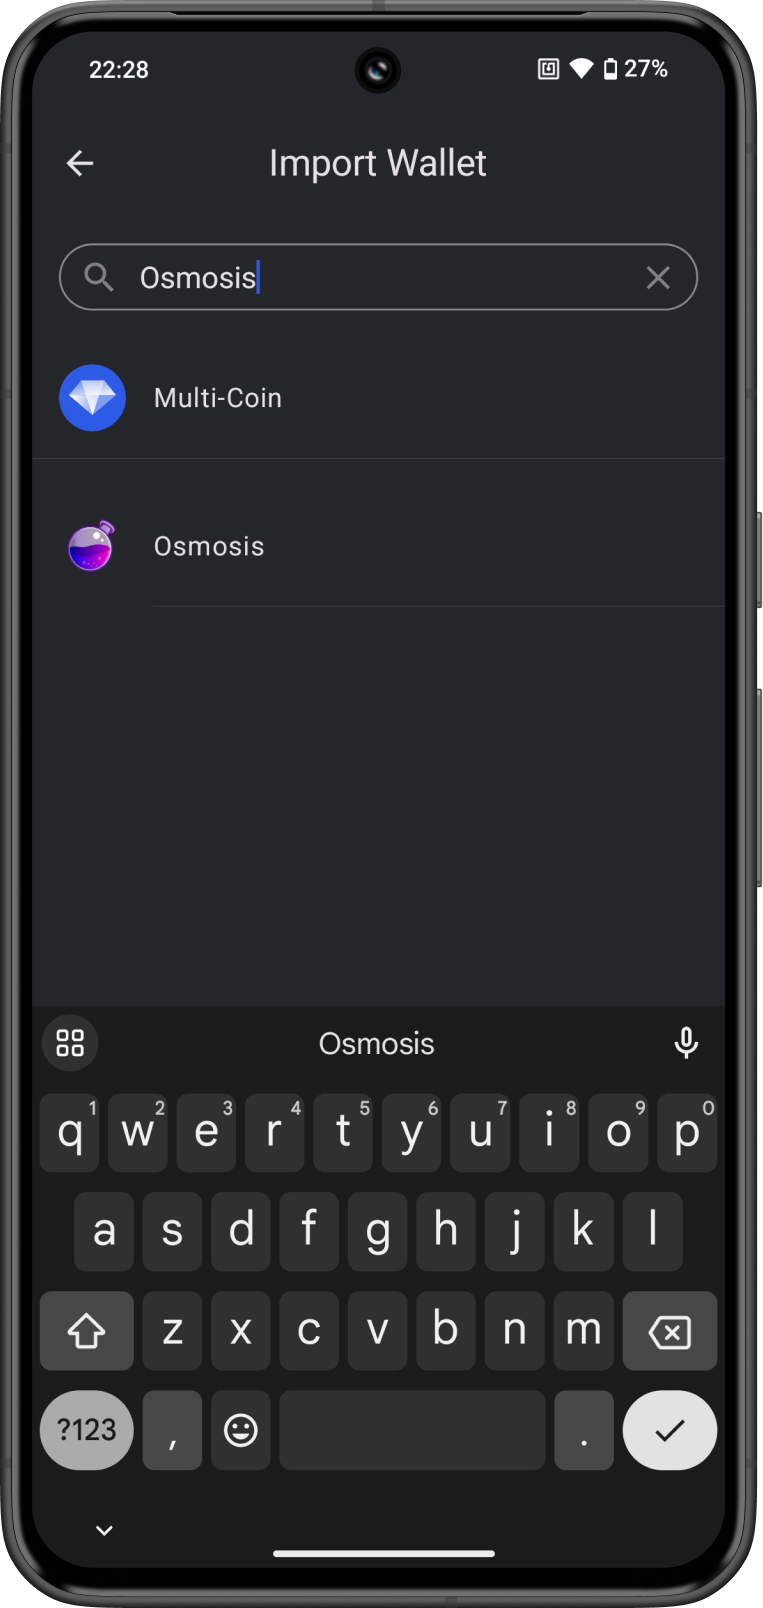
Launch Gem Wallet app and tap on Import an Existing Wallet. Choose the specific blockchain you are trying to restore.
For this example, we will restore an Osmosis Wallet which is what Keplr Wallet currently supports.
Step 3 - Type/Paste Recovery Phrase
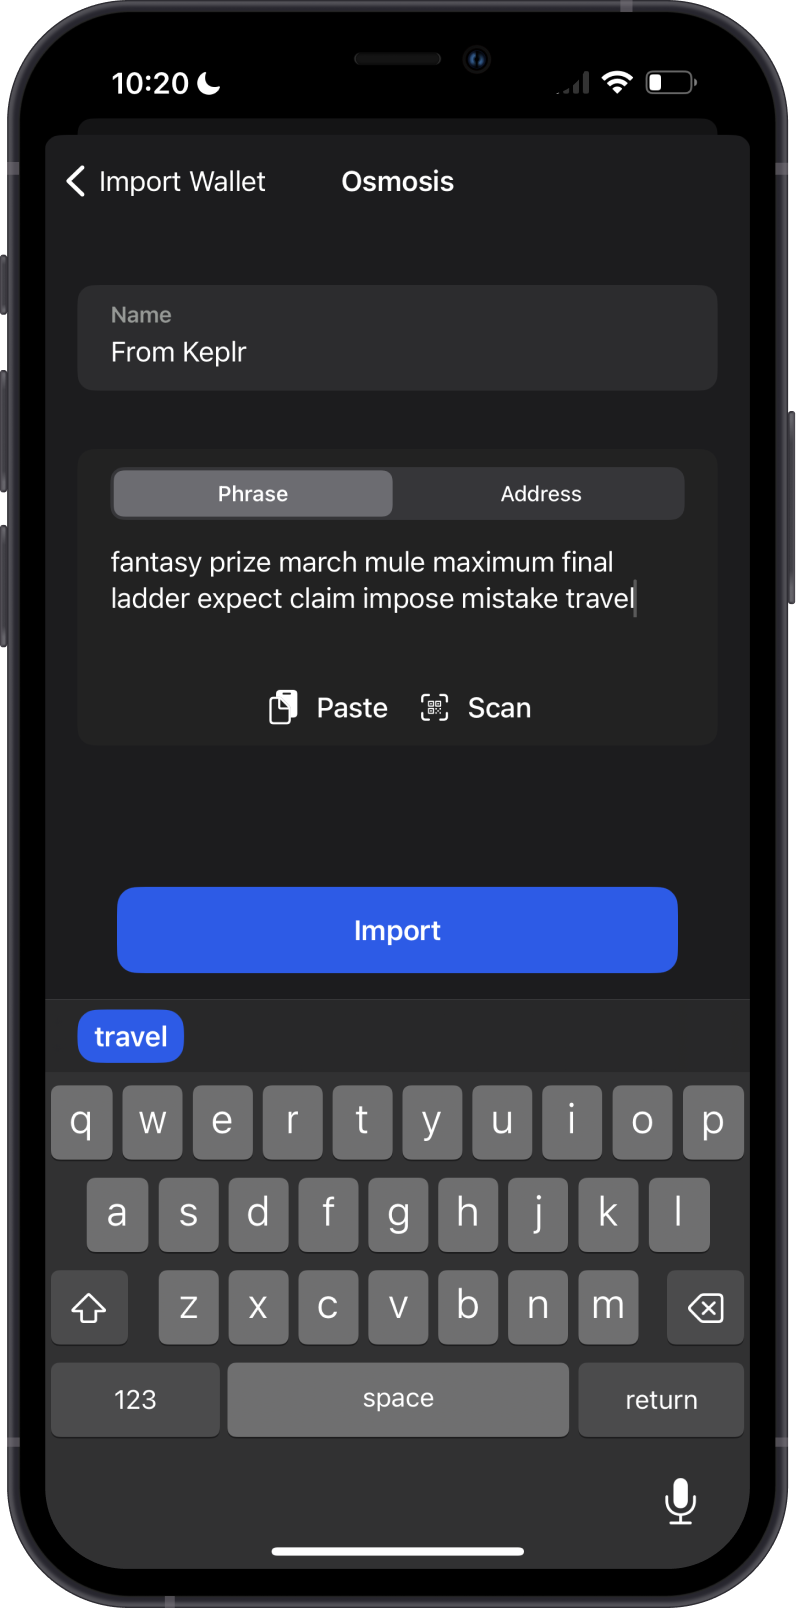
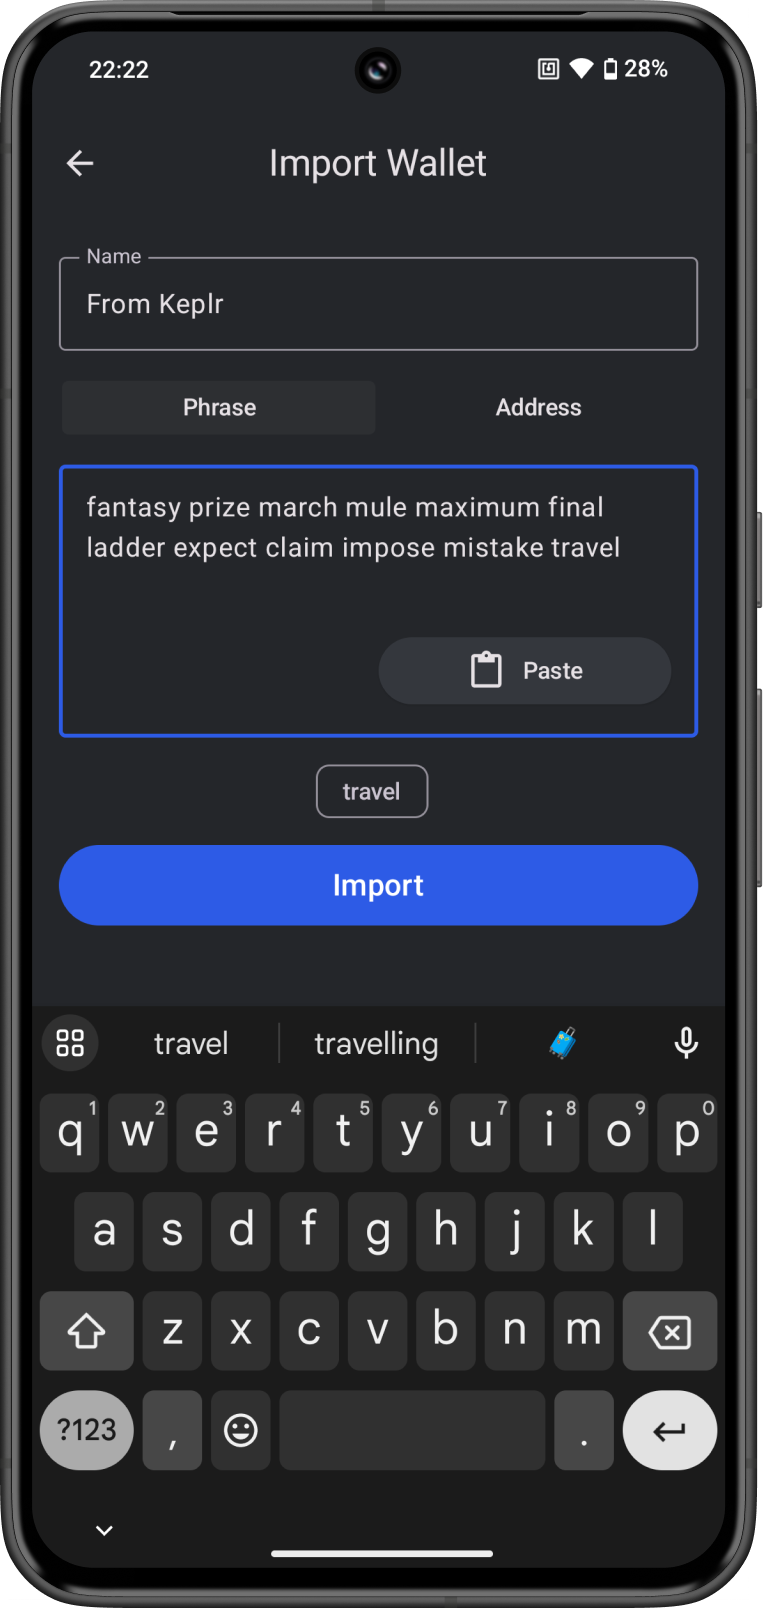
Manually type in or paste your Keplr Wallet Recovery Phrase. Afterwards, tap on Import.
Step 1 - Get Keplr Wallet Recovery Phrase
In order to migrate your Keplr Wallet to Gem Wallet, you need to get your Recovery Phrase. You can follow this official guide from Keplr Wallet on how to View Your Seed Phrase.


Always make sure that your Recovery Phrase is secure, do not share it with anyone.
Step 2 - Launch Gem Wallet
Launch Gem Wallet app and tap on Import an Existing Wallet. Choose the specific blockchain you are trying to restore.
For this example, we will restore an Osmosis Wallet which is what Keplr Wallet currently supports.
Step 3 - Type/Paste Recovery Phrase
Manually type in or paste your Keplr Wallet Recovery Phrase. Afterwards, tap on Import.
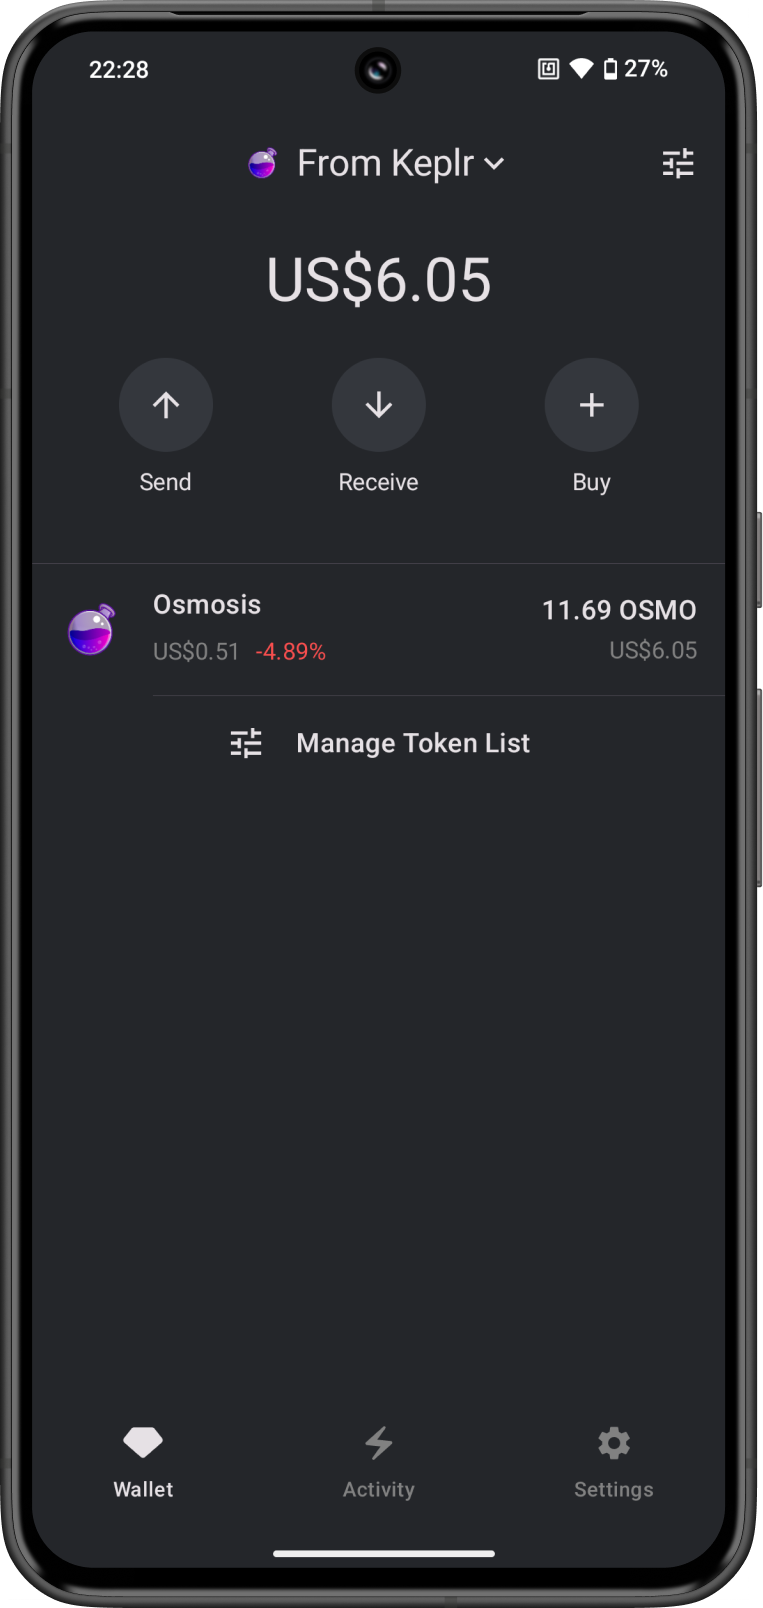
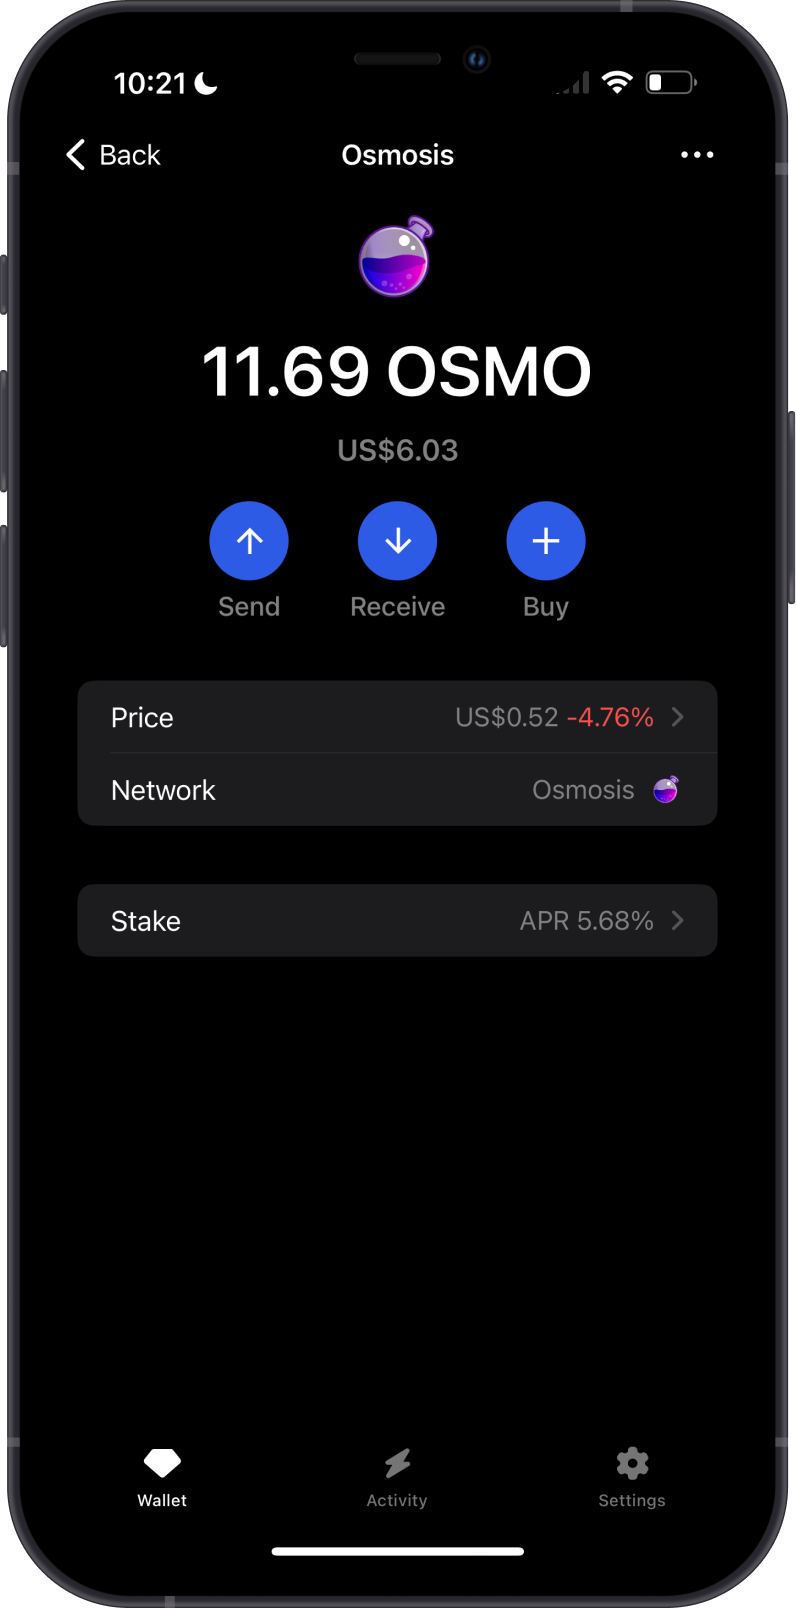
Congratulations, you have successfully migrated a Keplr Wallet to Gem Wallet.
Gem Wallet uses the same wallet encryption of Keplr Wallet. This allows anyone to safely restore the Recovery Phrase of Keplr Wallet to Gem Wallet. The migrated wallet will have the same OSMO address from Keplr Wallet.